springboot系列八: springboot静态资源访问,Rest风格请求处理, 接收参数相关注解
文章目录
- WEB开发-静态资源访问
- 官方文档
- 基本介绍
- 快速入门
- 注意事项和细节
- Rest风格请求处理
- 基本介绍
- 应用实例
- 注意事项和细节
- 思考题
- 接收参数相关注解
- 基本介绍
- 应用实例
- @PathVariable
- @RequestHeader
- @RequestParam
- @CookieValue
- @RequestBody
- @RequestAttribute
- @SessionAttribute

⬅️ 上一篇: springboot系列七: Lombok注解,Spring Initializr,yaml语法
🎉 欢迎来到 springboot系列八: springboot静态资源访问,Rest风格请求处理, 接收参数相关注解 🎉
在本篇文章中,我们将探讨如何在 Spring Boot 中处理静态资源访问、实现 Rest 风格的请求处理以及使用接收参数相关的注解。这些功能将帮助您更高效地开发和管理 Spring Boot 应用程序。
🔧 本篇需要用到的项目:
WEB开发-静态资源访问
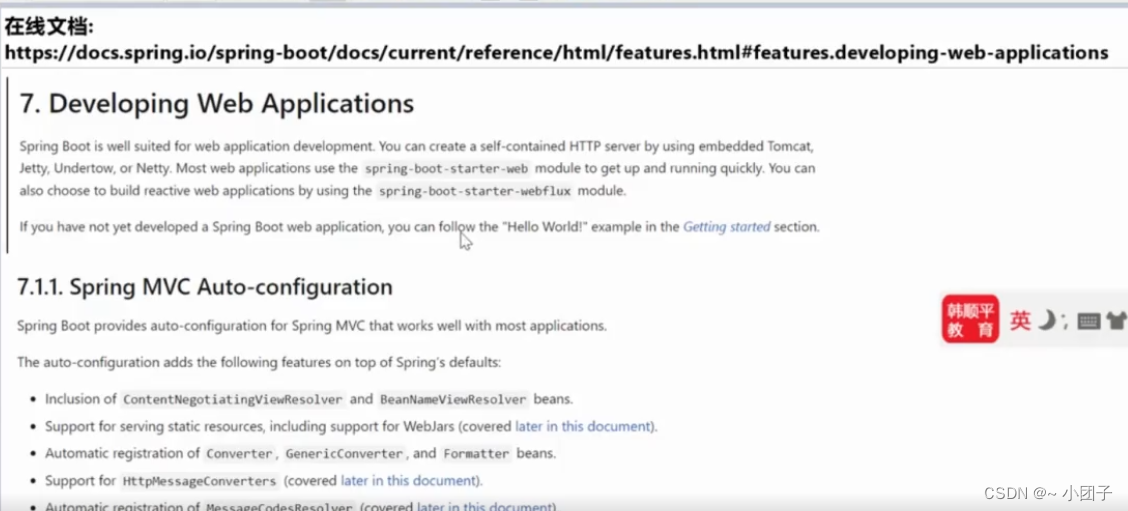
官方文档
在线文档:
基本介绍
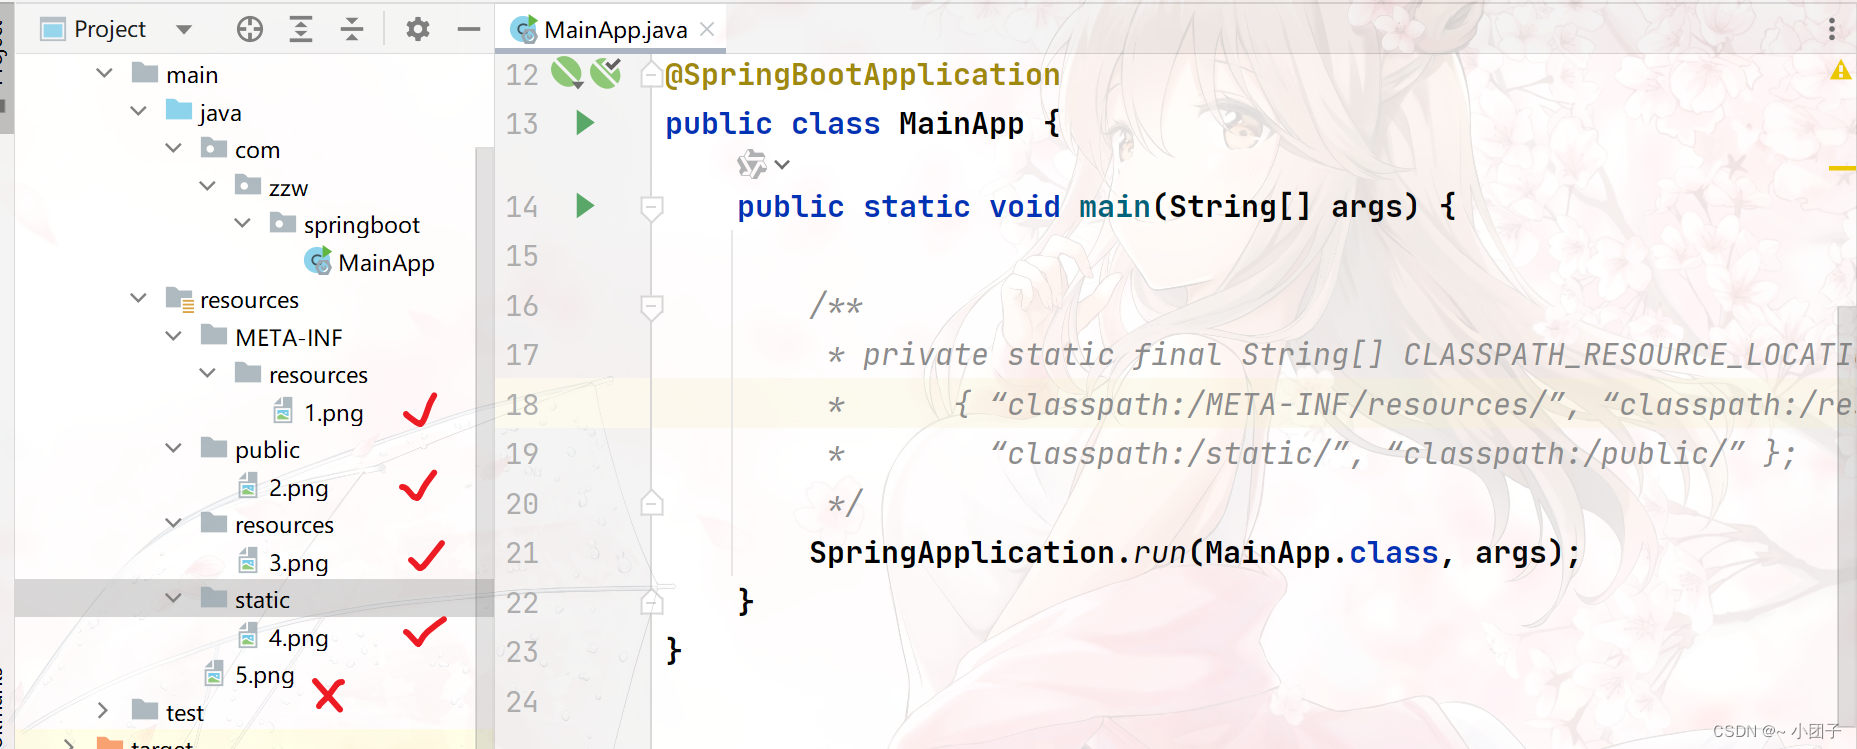
1.只要静态资源放在类路径下: /static, /public, /resources, /META-INF/resources 可以被直接访问 - 对应文件 WebProperties.java
private static final String[] CLASSPATH_RESOURCE_LOCATIONS = { “classpath:/META-INF/resources/”, “classpath:/resources/”, “classpath:/static/”, “classpath:/public/” };
2.常见静态资源: JS, CSS, 图片(.jpg, .png, .gif, .bmp, .svg), 字体文件(Fonts)等
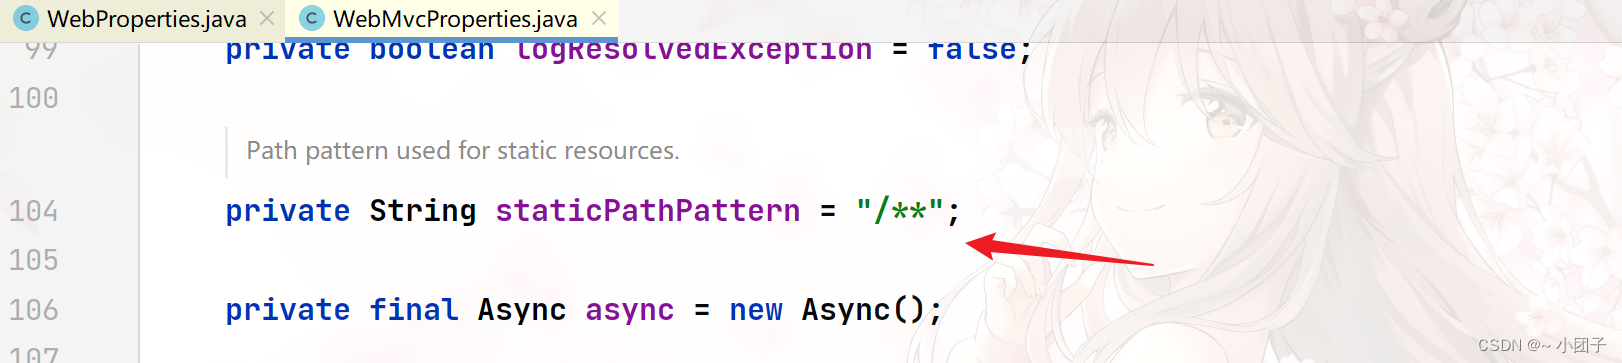
3.访问方式: 默认: 项目根路径 / + 静态资源名, 比如 http://localhost:8080/1.jpg - 设置WebMvcProperties.java
private String staticPathPattern = “/**”;
快速入门
1.创建SpringBoot项目springbootweb, 这里使用灵活配置方式来创建项目, 参考springboot快速入门
2.创建相关静态资源目录, 并放入测试图片, 没有目录, 自己创建即可, 浏览器访问 http://localhost:8080/4.png , 完成测试.
注意事项和细节
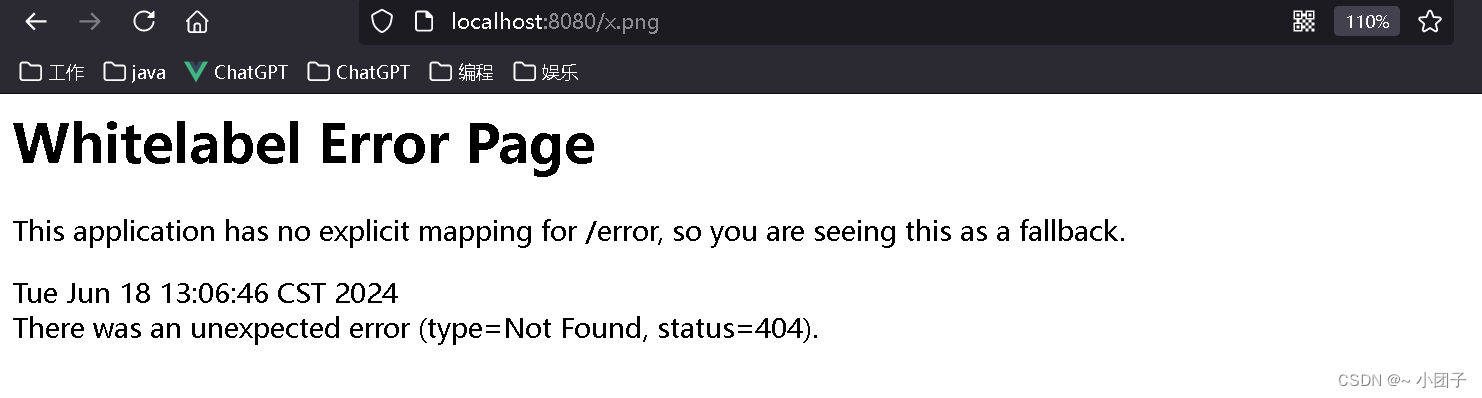
1.静态资源访问原理: 静态映射是 /** , 也就是对所有请求拦截. 请求进来, 先看Controller能不能处理, 不能处理的请求交给静态资源处理器, 如果静态资源找不到则响应404页面.
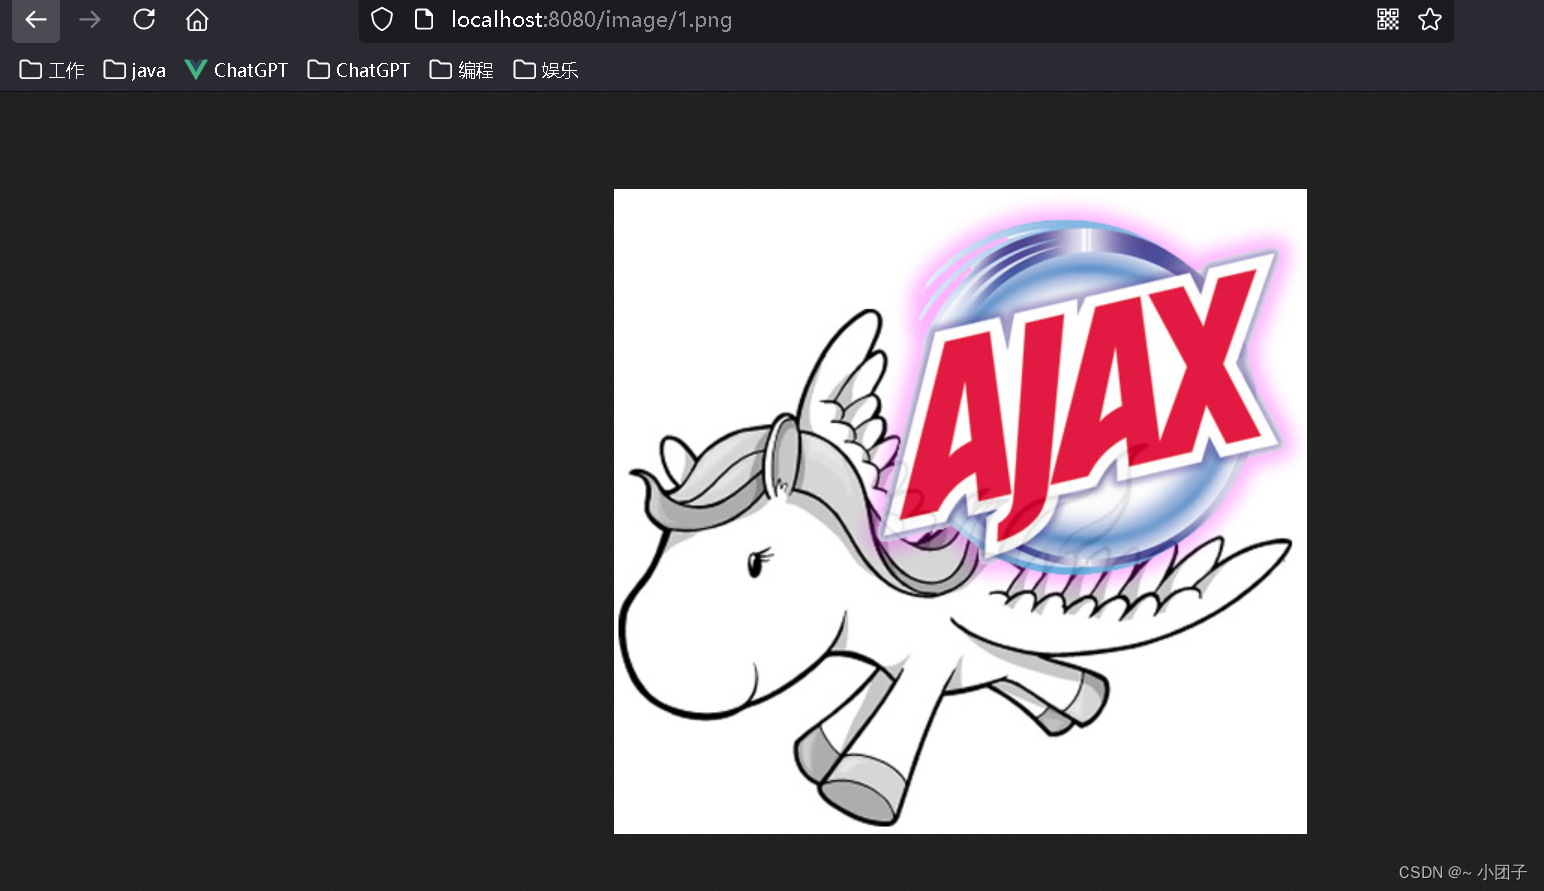
2.改变静态资源访问前缀, 比如我们希望 http://localhost:8080/image/1.png 去请求静态资源.
应用场景: http://localhost:8080/1.png, 静态资源访问前缀和控制器请求路径冲突
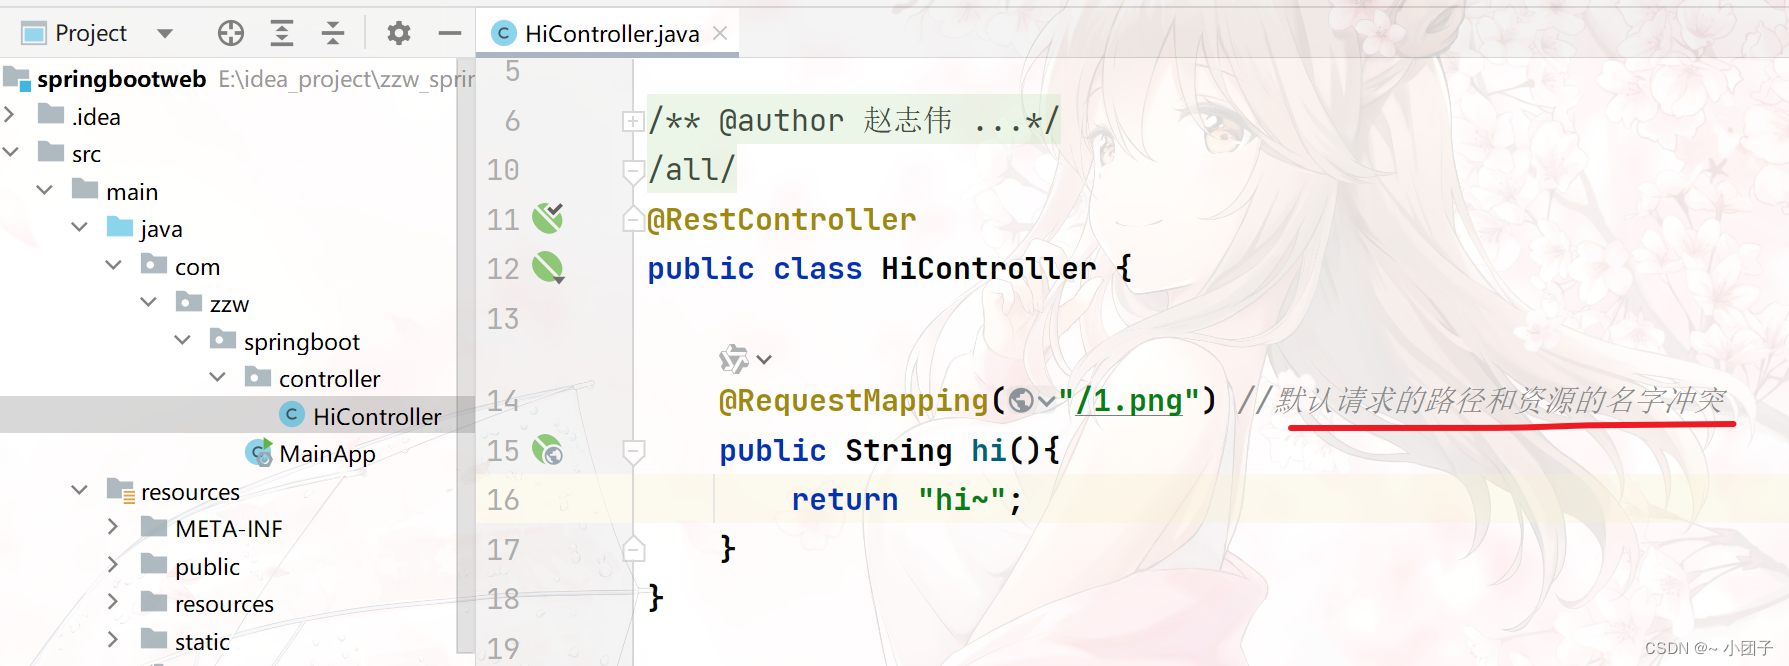
被Controller拦截

解决方案:
1)创建src/main/resources/application.yml
spring:mvc:static-path-pattern: /image/**
2)启动, http://localhost:8080/image/1.png 测试
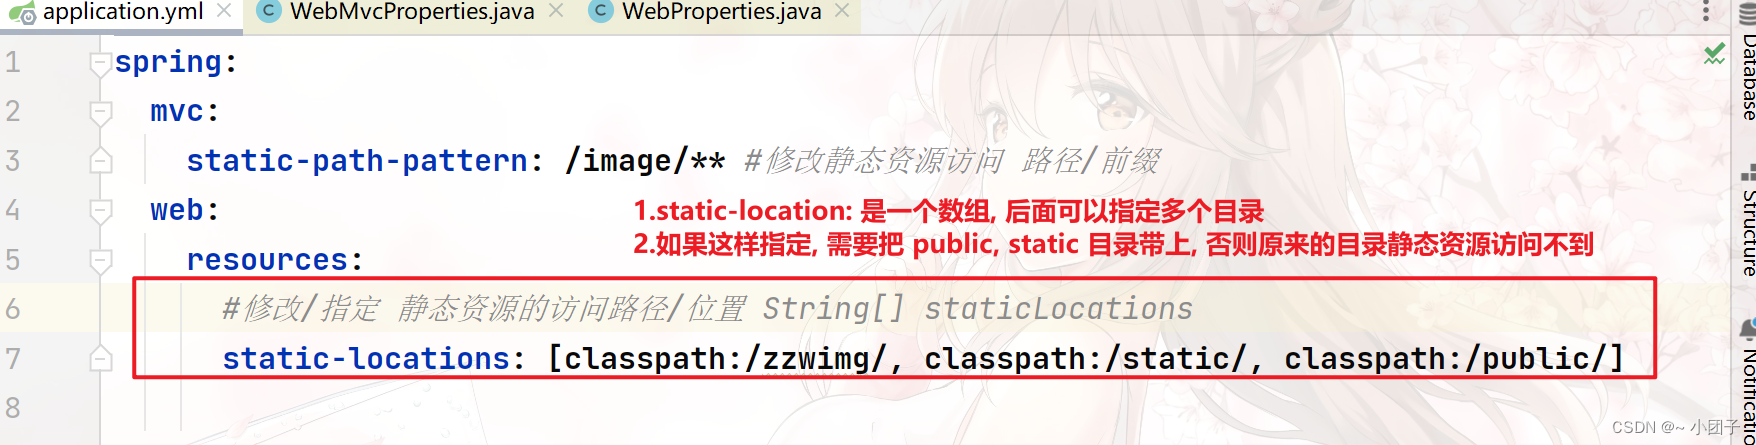
3.改变默认的静态资源路径, 比如希望在类路径下增加zzwimg目录 作为静态资源路径, 并完成测试.
1)如图所示

2)配置 application.yml, 增加路径
spring:mvc:static-path-pattern: /image/** #修改静态资源访问 路径/前缀web:resources:#修改/指定 静态资源的访问路径/位置static-locations: [classpath:/zzwimg/] #String[] staticLocations
3)测试, 浏览器输入 http://localhost:8080/image/6.png(没错, 是image/6.png, 不是image/zzwimg/6.png), 一定要保证工作目录target下 有 6.png, 如果没有, 请rebuild下项目, 再重启项目.
4)如果你配置 static-locations, 原来的访问路径就会被覆盖, 如果需要保留, 再指定一下即可.
web:resources:#修改/指定 静态资源的访问路径/位置 String[] staticLocationsstatic-locations: ["classpath:/zzwimg/", "classpath:/META-INF/resources/","classpath:/resources/", "classpath:/static/", "classpath:/public/"]
Rest风格请求处理
基本介绍
1.Rest风格支持 (使用HTTP请求方式来表示对资源的操作)
2.举例说明
请求方式: /monster
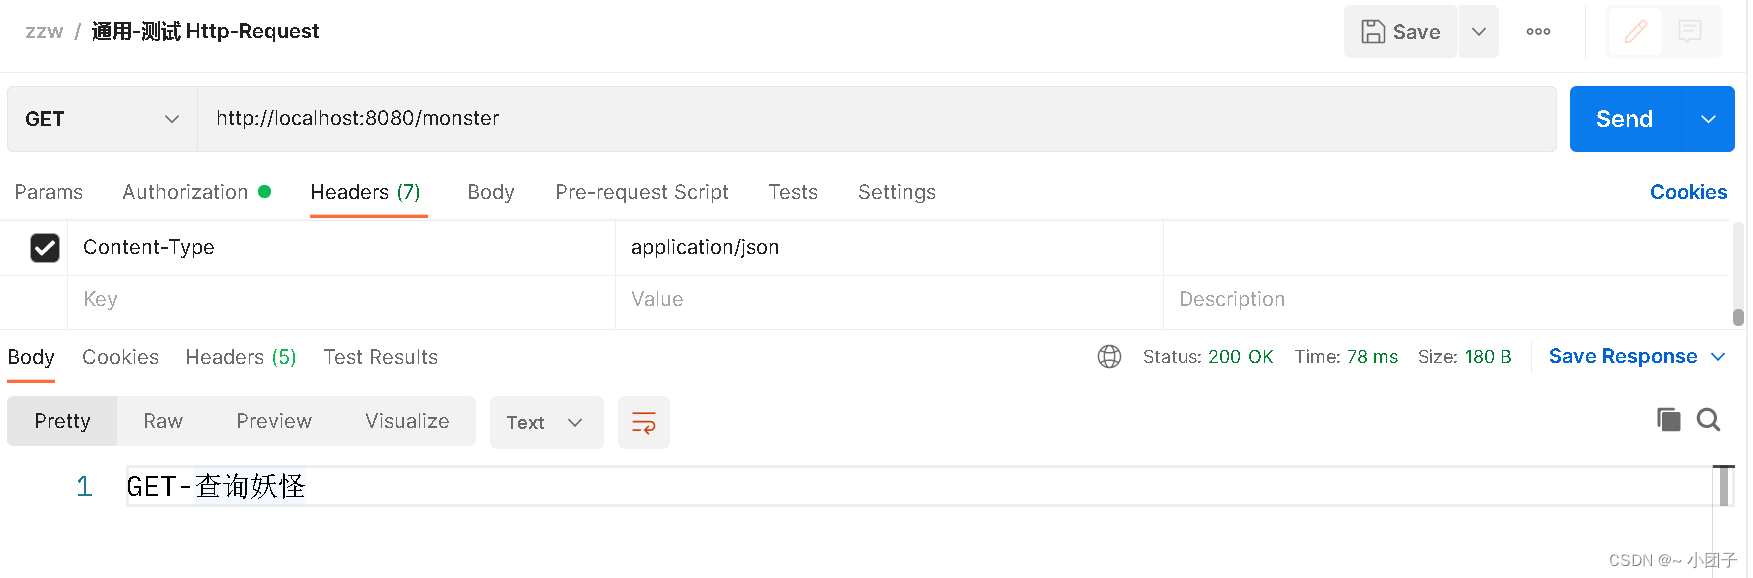
GET-获取妖怪
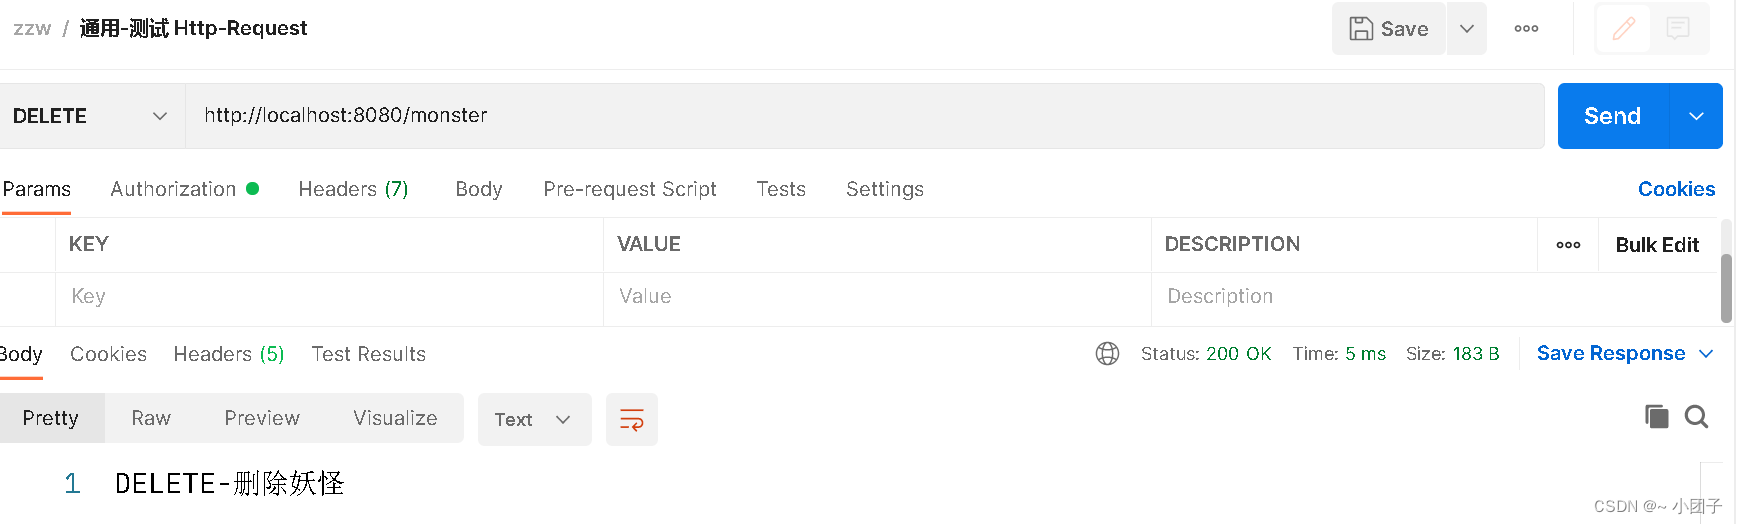
DELETE-删除妖怪
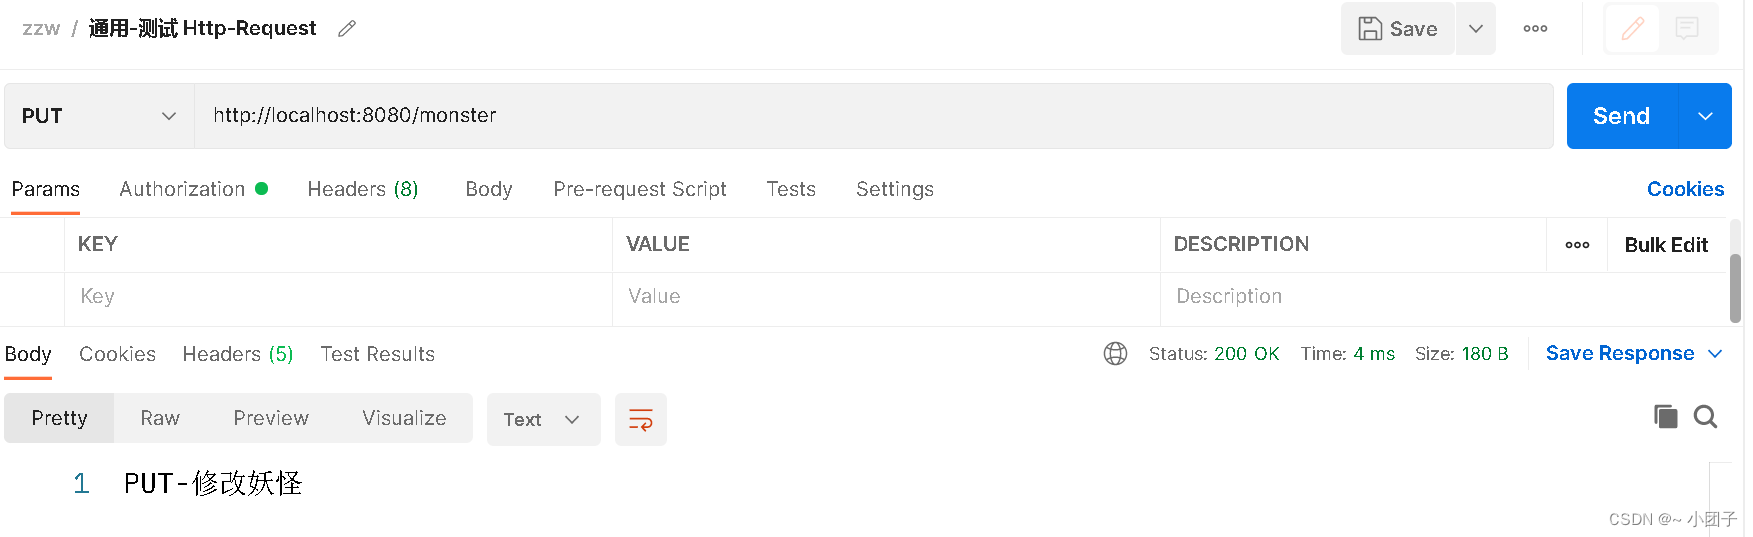
PUT-修改妖怪
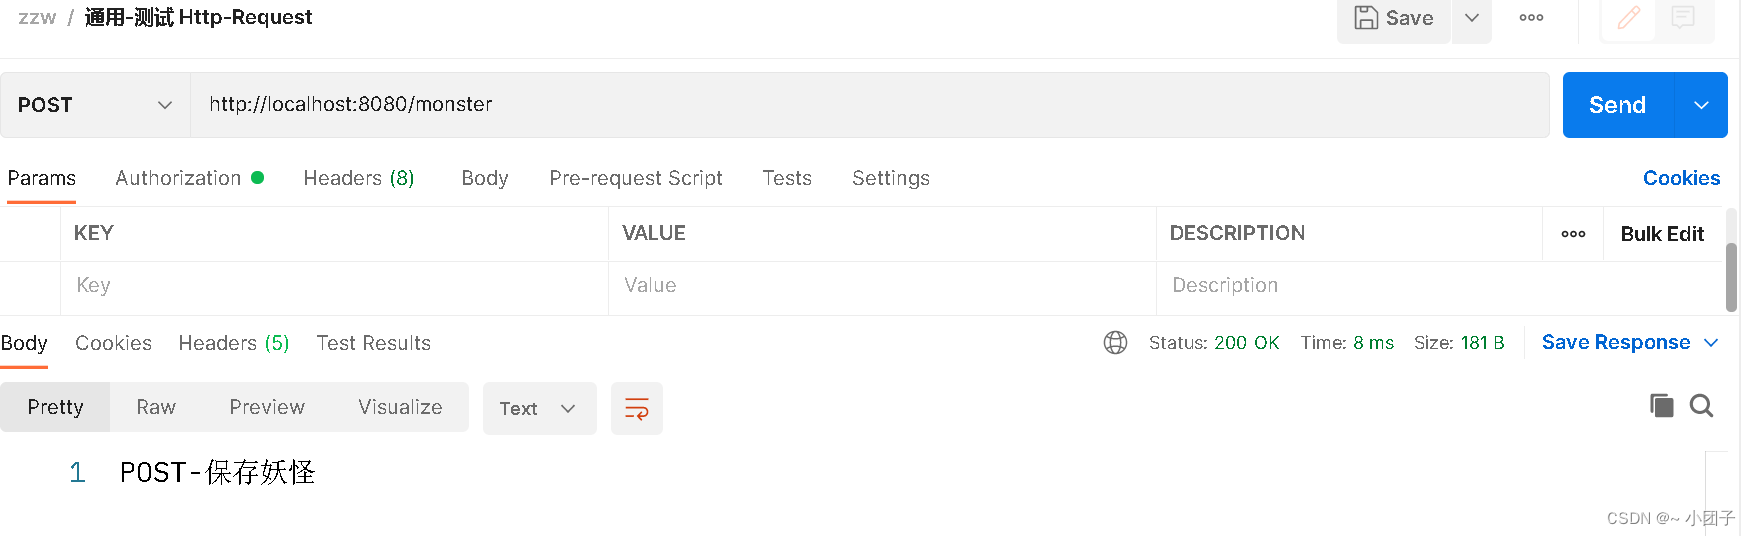
POST-保存妖怪
应用实例
1.创建src/main/java/com/zzw/springboot/controller/MonsterController.java
@RestController
public class MonsterController {//等价的写法//@RequestMapping(value = "/monster", method= RequestMethod.GET)@GetMapping("/monster")public String getMonster() {return "GET-查询妖怪";}//等价写法//@RequestMapping(value = "/monster", method = RequestMethod.POST)@PostMapping("/monster")public String saveMonster() {return "POST-保存妖怪";}//等价写法@RequestMapping(value = "/monster", method = RequestMethod.PUT)@PutMapping("/monster")public String putMonster() {return "PUT-修改妖怪";}//等价写法@RequestMapping(value = "/monster", method = RequestMethod.DELETE)@DeleteMapping("/monster")public String deleteMonster() {return "DELETE-删除妖怪";}
}
2.使用Postman完成测试, 请求url: http://localhost:8080/monster
注意事项和细节
在SpringMVC中我们学过,SpringMVC系列四: Rest-优雅的url请求风格
1.客户端是Postman 可以直接发送 Put, Delete等方式请求, 可不设置Filter.
2.如果要SpringBoot支持 页面表单的Rest功能, 则需要注意如下细节
1)Rest风格请求核心Filter: HiddenHttpMethodFilter, 表单请求会被HiddenHttpMethodFilter拦截, 获取到表单_method的值, 再判断是PUT/DELETE/PATCH(注意: PATCH方法是新引入的, 是对PUT方法的补充, 用来对已知资源进行局部更新, PATCH和PUT方法的区别)
2)如果要SpringBoot支持 页面表单的Rest功能, 需要在application.yml启用filter功能, 否则无效.
3)修改application.yml, 启用filter功能
spring:mvc:static-path-pattern: /image/** #修改静态资源访问 路径/前缀hiddenmethod:filter:enabled: true #启动HiddenHttpMethodFilter, 支持rest
4)修改对应的页面, 然后测试.
<!DOCTYPE html>
<html lang="en">
<head><meta charset="UTF-8"><title>rest</title>
</head>
<body>
<h1>测试rest风格的url, 完成get请求</h1>
<form action="/monster" method="get">u: <input type="text" name="name"><br/><input type="submit" value="点击提交">
</form>
<h1>测试rest风格的url, 完成post请求</h1>
<form action="/monster" method="post">u: <input type="text" name="name"><br/><input type="submit" value="点击提交">
</form>
<h1>测试rest风格的url, 完成put请求</h1>
<form action="/monster" method="post"><!--通过隐藏域传递_method参数指定值--><input type="hidden" name="_method" value="PUT">u: <input type="text" name="name"><br/><input type="submit" value="点击提交">
</form>
<h1>测试rest风格的url, 完成delete请求</h1>
<form action="/monster" method="post"><input type="hidden" name="_method" value="delete">u: <input type="text" name="name"><br/><input type="submit" value="点击提交">
</form>
</body>
</html>
思考题
1.为什么这里 return “GET-查询妖怪”,返回的是字符串,而不是转发到对应的资源文件?
1)修改src/main/java/com/zzw/springboot/controller/MonsterController.java
//@RestController
@Controller
public class MonsterController {/*** 解读* 因为@RestController是一个复合注解,含有@ResponseBody注解,所以sprintboot底层(springmvc),* 在处理return "xxx"时, 会以 @ResponseBody 注解的方式进行解析处理, 即返回字符串"xxx". 而不会使用* 视图解析器来处理. 如果我们把 @RestController 改成 @Controller, 当你访问getMonster()时, * 会使用到视图解析器(如果配置了的话),即如果你有xxx.html, 就会请求转发到xxx.html, 如果没有xxx.html, 就会报404.* @return*/@GetMapping("/monster")public String getMonster() {return "GET-查询妖怪";}@RequestMapping("/go")public String go() {//顺序 http://localhost:8088/go// => 1.如果没有配置视图解析器, 就看Controller有没有 /hello// => 2.如果有, 就请求转发到 /hello, 如果没有 /hello 映射, 就报错// => 4.如果配置了视图解析器, 就走视图解析器return "hello";}
}
2)浏览器请求 http://localhost:8088/go,报 404 错误,因为找不到资源文件 hello.html
解决方案
1.如果没有配置视图解析器, 访问 http://localhost:8088/go, 会请求转发到 /hello
1)修改src/main/java/com/zzw/springboot/controller/HiController.java
@RestController
public class HiController {//@RequestMapping("/hi") //模拟一下, 发现默认请求的路径和资源的名字冲突@RequestMapping("/hello")public String hi(){return "hi~";}
}
2)测试

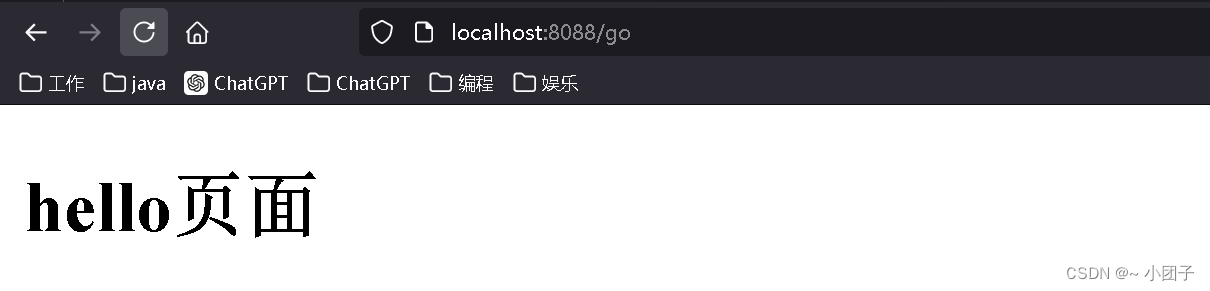
2.如果配置了视图解析器, 访问 http://localhost:8088/go, 就会请求转发到 hello.html
1)新建src/main/resources/public/hello.html
<!DOCTYPE html>
<html lang="en">
<head><meta charset="UTF-8"><title>hello页面</title>
</head>
<body>
<h2>hello页面</h2>
</body>
</html>
2)application.yml配置视图解析器
spring:mvc:#尽量用默认的, 因为springboot有个约定优于配置的思想#static-path-pattern: /image/** #修改静态资源访问 路径/前缀hiddenmethod:filter:enabled: true #启动HiddenHttpMethodFilter, 支持restview: #修改默认的视图配置
#      prefix: / # No mapping for GET /hello.htmlprefix: / #这里需要注意prefix 需要和当前的static-path-pattern保持一致suffix: .html
3)测试
接收参数相关注解
基本介绍
1.SpringBoot 接收客户端提交数据 / 参数会使用到相关注解.
2.详细学习 @PathVariable, @RequestHeader, @ModelAttribute, @RequestParam, @CookieValue, @RequestBody
应用实例
●需求:
演示各种方式提交数据/参数给服务器, 服务器如何使用注解接收
@PathVariable
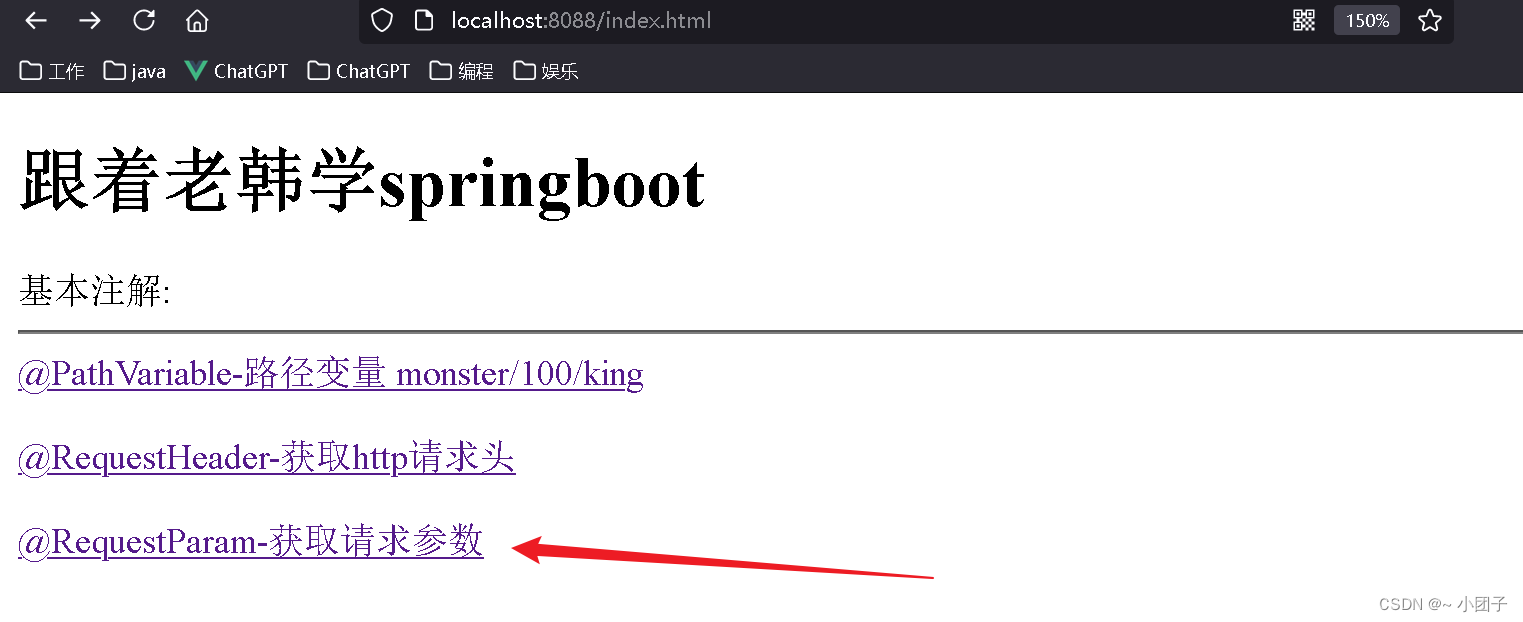
1.创建src/main/resources/public/index.html
JavaWeb系列十: web工程路径专题
<h1>跟着老韩学springboot</h1>
基本注解:
<hr/>
<!--1. web工程路径知识:2. / 会解析成 http://localhost:80803. /monster/100/king => http://localhost:8080/monster/100/king4. 如果不带 /, 会以当前路径为基础拼接
/-->
<a href="/monster/100/king">@PathVariable-路径变量 monster/100/king</a><br/><br/>
</body>
2.创建src/main/java/com/zzw/springboot/controller/ParameterController.java
url占位符回顾
@RestController
public class ParameterController {/*** 1./monster/{id}/{name} 构成完整请求路径* 2.{id} {name} 就是占位变量* 3.@PathVariable("name"): 这里 name 和 {name} 命名保持一致* 4.String name_ 这里自定义, 这里韩老师故意这么写* 5.@PathVariable Map<String, String> map 把所有传递的值传入map* 6.可以看下@pathVariable源码* @return*/@GetMapping("/monster/{id}/{name}")public String pathVariable(@PathVariable("id") Integer id,@PathVariable("name") String name,@PathVariable Map<String, String> map) {System.out.println("id = " + id + "\nname = " + name + "\nmap = " + map);return "success";}
}
3.测试 http://localhost:8088/monster/100/king


@RequestHeader
需求: 演示@RequestHeader使用.
1.修改src/main/resources/public/index.html
<a href="/requestHeader">@RequestHeader-获取http请求头</a><br/><br/>
2.修改ParameterController.java
JavaWeb系列八: WEB 开发通信协议(HTTP协议)
/*** 1. @RequestHeader("Cookie") 获取http请求头的 cookie信息* 2. @RequestHeader Map<String, String> header 获取到http请求的所有信息*/
@GetMapping("/requestHeader")
public String requestHeader(@RequestHeader("Host") String host,@RequestHeader Map<String, String> header) {System.out.println("host = " + host + "\nheader = " + header);return "success";
}
3.测试


@RequestParam
需求: 演示@RequestParam使用.
1.修改src/main/resources/public/index.html
<a href="/hi?name=赵志伟&fruit=apple&fruit=pear&address=上海&id=3">@RequestParam-获取请求参数</a><br/><br/>
2.修改ParameterController.java
SpringMVC系列五: SpringMVC映射请求数据
/*** 如果我们希望将所有的请求参数的值都获取到, 可以通过* @RequestParam Map<String, String> params*/
@GetMapping("/hi")
public String hi(@RequestParam(value = "name") String username,@RequestParam(value = "fruit") List<String> fruits,@RequestParam Map<String, String> params) {System.out.println("username = " + username + "\nfruits = "+ fruits + "\nparams = " + params);return "success";
}
3.测试

@CookieValue
需求: 演示@CookieValue使用.
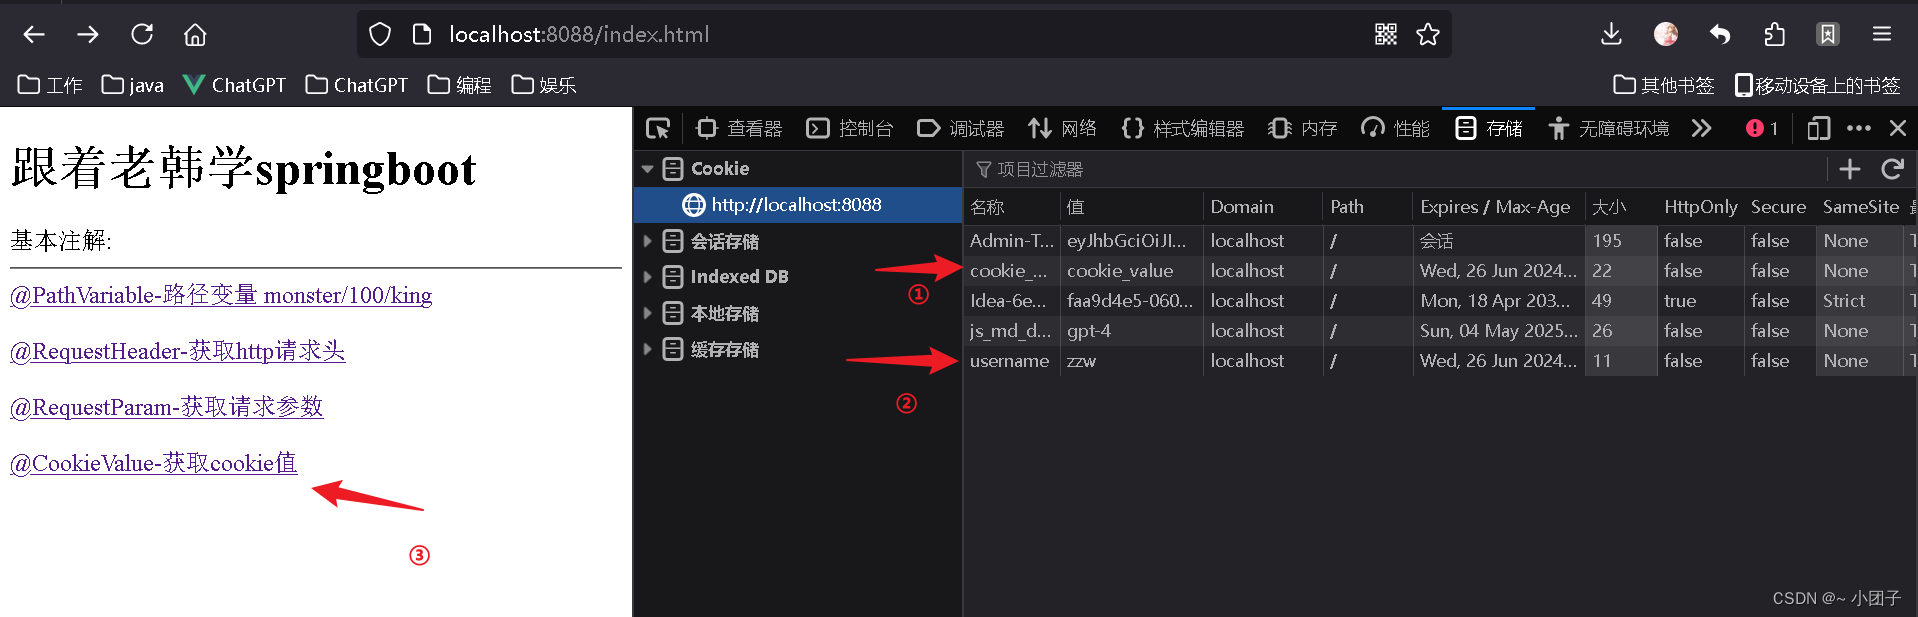
1.修改src/main/resources/public/index.html
<a href="/cookie">@CookieValue-获取cookie值</a>
2.修改ParameterController.java
JavaWeb系列十一: Web 开发会话技术(Cookie, Session)
/*** 因为我们的浏览器目前没有cookie, 我们可以自己设置cookie* 如果要测试, 可以先写一个方法, 在浏览器创建对应的cookie* 说明:* 1. value = "cookie_key" 表示接收名字为 cookie_key的cookie* 2. 如果浏览器携带来对应的cookie, 那么后面的参数是String, 则接收到的是对应的value* 3. 后面的参数是Cookie, 则接收到的是封装好的对应的cookie*/
@GetMapping("/cookie")
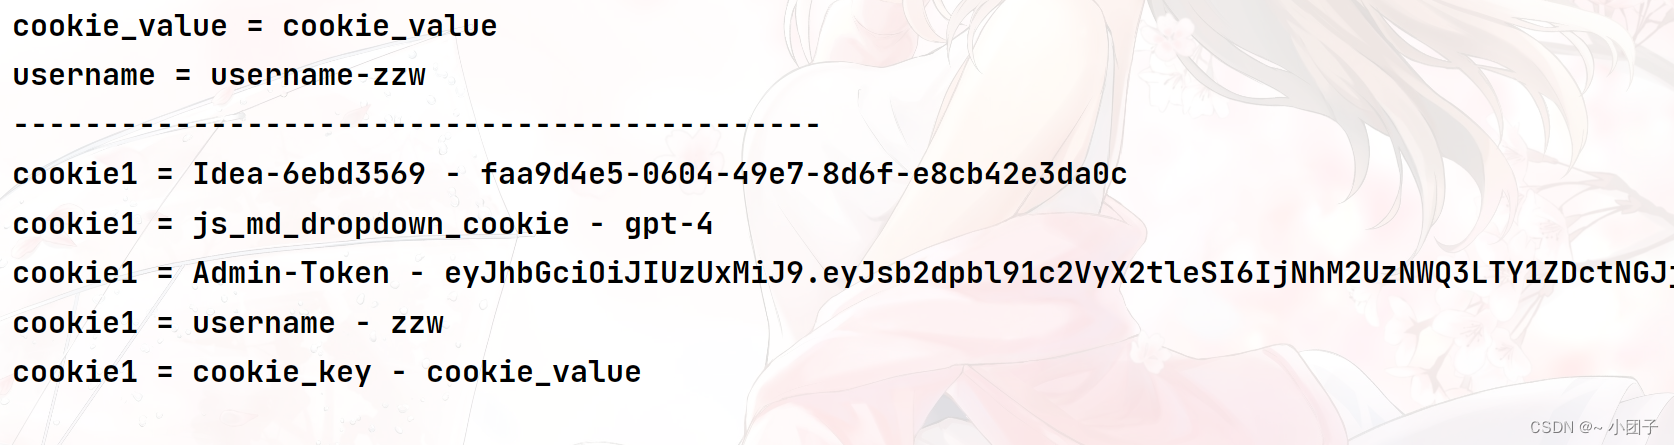
public String cookie(@CookieValue(value = "cookie_key") String cookie_value,@CookieValue(value = "username") Cookie cookie,HttpServletRequest request) {System.out.println("cookie_value = " + cookie_value+ "\nusername = " + cookie.getName() + "-" + cookie.getValue());Cookie[] cookies = request.getCookies();for (Cookie cookie1 : cookies) {System.out.println("cookie1 = " + cookie1.getName() + "-" + cookie1.getValue());}return "success";
}
3.测试
@RequestBody
需求: 演示@RequestBody使用.
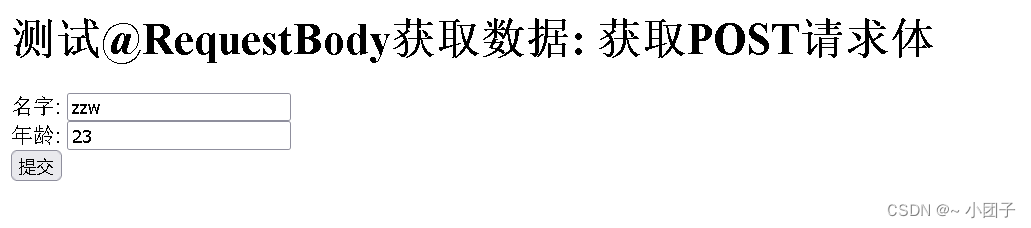
1.修改src/main/resources/public/index.html
<h1>测试@RequestBody获取数据: 获取POST请求体</h1>
<form action="/save" method="post">名字: <input type="text" name="name"><br/>年龄: <input type="text" name="age"><br/><input type="submit" value="提交"/>
</form>
2.修改ParameterController.java
SpringMVC系列十: 中文乱码处理与JSON处理
/*** @RequestBody 是整体取出Post请求内容*/
@PostMapping("/save")
public String postMethod(@RequestBody String content) {System.out.println("content = " + content);//content = name=zzw&age=23return "sucess";
}
3.测试
content = name=zzw&age=123
@RequestAttribute
需求: 演示@RequestAttribute使用. 获取request域的属性.
1.修改src/main/resources/public/index.html
<a href="/login">@RequestAttribute-获取request域属性</a>
2.创建RequestController.java
SpringMVC系列十: 中文乱码处理与JSON处理
@Controller
public class RequestController {@RequestMapping("/login")public String login(HttpServletRequest request) {request.setAttribute("user", "赵志伟");//向request域中添加的数据return "forward:/ok";//请求转发到 /ok}@GetMapping("/ok")@ResponseBodypublic String ok(@RequestAttribute(value = "user", required = false) String username,HttpServletRequest request) {//获取到request域中的数据System.out.println("username--" + username);System.out.println("通过servlet api 获取 username-" + request.getAttribute("user"));return "success"; //返回字符串, 不用视图解析器}
}
3.测试…
@SessionAttribute
需求: 演示@SessionAttribute使用. 获取session域的属性.
1.修改src/main/resources/public/index.html
<a href="/login">@SessionAttribute-获取session域属性</a>
2.创建RequestController.java
JavaWeb系列十一: Web 开发会话技术(Cookie, Session)
@Controller
public class RequestController {@RequestMapping("/login")public String login(HttpServletRequest request, HttpSession session) {request.setAttribute("user", "赵志伟");//向request域中添加的数据session.setAttribute("mobile", "黑莓");//向session域中添加的数据return "forward:/ok";//请求转发到 /ok}@GetMapping("/ok")@ResponseBodypublic String ok(@RequestAttribute(value = "user", required = false) String username,HttpServletRequest request,@SessionAttribute(value = "mobile", required = false) String mobile,HttpSession session) {//获取到request域中的数据System.out.println("username--" + username);System.out.println("通过servlet api 获取 username-" + request.getAttribute("user"));//获取session域中的数据System.out.println("mobile--" + mobile);System.out.println("通过HttpSession 获取 mobile-" + session.getAttribute("mobile"));return "success"; //返回字符串, 不用视图解析器}
}
3.测试…
🔜 下一篇预告: [即将更新,敬请期待]
📚 目录导航 📚
- springboot系列一: springboot初步入门
- springboot系列二: sprintboot依赖管理
- springboot系列三: sprintboot自动配置
- springboot系列四: sprintboot容器功能
- springboot系列五: springboot底层机制实现 上
- springboot系列六: springboot底层机制实现 下
- springboot系列七: Lombok注解,Spring Initializr,yaml语法
- springboot系列八: springboot静态资源访问,Rest风格请求处理, 接收参数相关注解
…
💬 读者互动 💬
在学习 Spring Boot 静态资源访问和 Rest 风格请求处理的过程中,您有哪些新的发现或疑问?欢迎在评论区留言,让我们一起讨论吧!😊
相关文章:
springboot系列八: springboot静态资源访问,Rest风格请求处理, 接收参数相关注解
文章目录 WEB开发-静态资源访问官方文档基本介绍快速入门注意事项和细节 Rest风格请求处理基本介绍应用实例注意事项和细节思考题 接收参数相关注解基本介绍应用实例PathVariableRequestHeaderRequestParamCookieValueRequestBodyRequestAttributeSessionAttribute ⬅️ 上一篇…...

# 职场生活之道:善于团结
在职场这个大舞台上,每个人都是演员,也是观众。要想在这个舞台上站稳脚跟,除了专业技能,更要学会如何与人相处,如何团结他人。团结,是职场生存的重要法则之一。 1. 主动团结:多一个朋友&#x…...
go sync包(五) WaitGroup
WaitGroup sync.WaitGroup 可以等待一组 Goroutine 的返回,一个比较常见的使用场景是批量发出 RPC 或者 HTTP 请求: requests : []*Request{...} wg : &sync.WaitGroup{} wg.Add(len(requests))for _, request : range requests {go func(r *Reque…...

基于深度学习的相机内参标定
基于深度学习的相机内参标定 相机内参标定(Camera Intrinsic Calibration)是计算机视觉中的关键步骤,用于确定相机的内部参数(如焦距、主点位置、畸变系数等)。传统的标定方法依赖于已知尺寸的标定板,通常…...

适合金融行业的国产传输软件应该是怎样的?
对于金融行业来说,正常业务开展离不开文件传输场景,一般来说,金融行业常用的文件传输工具有IM通讯、邮件、自建文件传输系统、FTP应用、U盘等,这些传输工具可以基础实现金融机构的文件传输需求,但也存在如下问题&#…...

昇思25天学习打卡营第9天|MindSpore使用静态图加速(基于context的开启方式)
在Graph模式下,Python代码并不是由Python解释器去执行,而是将代码编译成静态计算图,然后执行静态计算图。 在静态图模式下,MindSpore通过源码转换的方式,将Python的源码转换成中间表达IR(Intermediate Repr…...

class类和style内联样式的绑定
这里的绑定其实就是v-bind的绑定,如代码所示,div后面的引号就是v-bind绑定,然后大括号将整个对象括起来,对象内先是属性,属性后接的是变量,这个变量是定义在script中的,后通过这个变量ÿ…...

3033.力扣每日一题7/5 Java
博客主页:音符犹如代码系列专栏:算法练习关注博主,后期持续更新系列文章如果有错误感谢请大家批评指出,及时修改感谢大家点赞👍收藏⭐评论✍ 目录 思路 解题方法 时间复杂度 空间复杂度 Code 思路 首先创建一个与…...

GPT-5:下一代AI如何彻底改变我们的未来
GPT-5 发布前瞻:技术突破与未来展望 随着科技的飞速发展,人工智能领域不断迎来新的突破。根据最新消息,OpenAI 的首席技术官米拉穆拉蒂在一次采访中确认,GPT-5 将在一年半后发布,并描述了其从 GPT-4 到 GPT-5 的飞跃如…...

重载一元运算符
自增运算符 #include<iostream> using namespace std; class CGirl { public:string name;int ranking;CGirl() { name "zhongge"; ranking 5; }void show() const{ cout << "name : "<<name << " , ranking : " <…...

10元 DIY 一个柔性灯丝氛围灯
之前TikTok上特别火的线性氛围灯Augelight刚出来的时候一度卖到80多美金,国内1688也能到400多人民币。 随着各路国内厂商和DIY创客的跟进,功能变多的同时价格一路下滑,虽然有的质感的确感人,但是便宜啊。 甚至关注的up有把成本搞到…...
表单自定义组件 - 可选择卡片SelectCard
import React from react; import styles from ./index.module.less;type OptionsType {/*** 每个item渲染一行,第0项为标题*/labels?: any[];/*** 自定义渲染内容*/label?: string | React.ReactNode;value: any; }; interface IProps {value?: any;onChange?…...

Ubuntu / Debian安装FTP服务
本章教程,记录在Ubuntu中安装FTP服务的具体步骤。FTP默认端口:21 1、安装 pure-ftpd sudo apt-get install pure-ftpd2、修改默认配置 # 与 centos 不同,这里需要在 /etc/pure-ftpd/conf 文件夹下执行下列命令,增加对应配置文件: # 创建 /etc/pure-ftpd/conf/PureDB 文件…...

若依 Vue 前端分离 3.8.8 版中生成的前端代码中关于下拉框只有下拉箭头的问题
生成代码修改前 <el-form-item label"课程学科" prop"subject"><el-select v-model"queryParams.subject" placeholder"请选择课程学科" clearable><el-optionv-for"dict in course_subject":key"dict…...

C++把一个类封装成动态链接库
一、步骤 1. 创建类头文件 首先,定义你要封装的类。例如,创建一个名为MyClass的类: // MyClass.h #pragma once#ifdef MYCLASS_EXPORTS #define MYCLASS_API __declspec(dllexport) #else #define MYCLASS_API __declspec(dllimport) #end…...

每天一个项目管理概念之项目章程
项目管理中,项目章程扮演着至关重要的角色。它是项目正式启动的标志,为项目的执行提供法律和组织上的认可。项目章程是项目管理知识体系(PMBOK)中定义的关键文档之一,对于确保项目的顺利进行具有决定性的影响。 定义与…...

c++11新特性-4-返回类型后置
文章目录 返回类型后置1.基本语法 返回类型后置 1.基本语法 auto func(参数1,参数2,参数3,...)->decltype(参数表达式) {...... }例如: template<typename T,typename U> auto add(T t,U u)->decltype(t u) {retu…...

Linux-C语言实现一个进度条小项目
如何在linux中用C语言写一个项目来实现进度条?(如下图所示) 我们知道\r是回车,\n是换行(且会刷新) 我们可以用 \r 将光标移回行首,重新打印一样格式的内容,覆盖旧的内容,…...
vue使用glide.js实现轮播图(可直接复制使用)
效果图 可以实现自动轮播,3种切换方式:直接滑动图片、点击两侧按钮、点击底部按钮 体验链接:http://website.livequeen.top 实现 一、引入依赖 1、控制台引入依赖 npm install glidejs/glide 2、在css中引用 <style scoped> import glidejs/g…...

TK养号工具开发会用上的源代码科普!
在当今数字化时代,社交媒体平台的崛起使得网络账号的维护与管理变得日益重要,其中,TK作为一款备受欢迎的社交媒体平台,吸引了大量用户。 在TK上进行账号养护,即通过各种方式提升账号权重、增加曝光量,已成…...

浅谈 React Hooks
React Hooks 是 React 16.8 引入的一组 API,用于在函数组件中使用 state 和其他 React 特性(例如生命周期方法、context 等)。Hooks 通过简洁的函数接口,解决了状态与 UI 的高度解耦,通过函数式编程范式实现更灵活 Rea…...
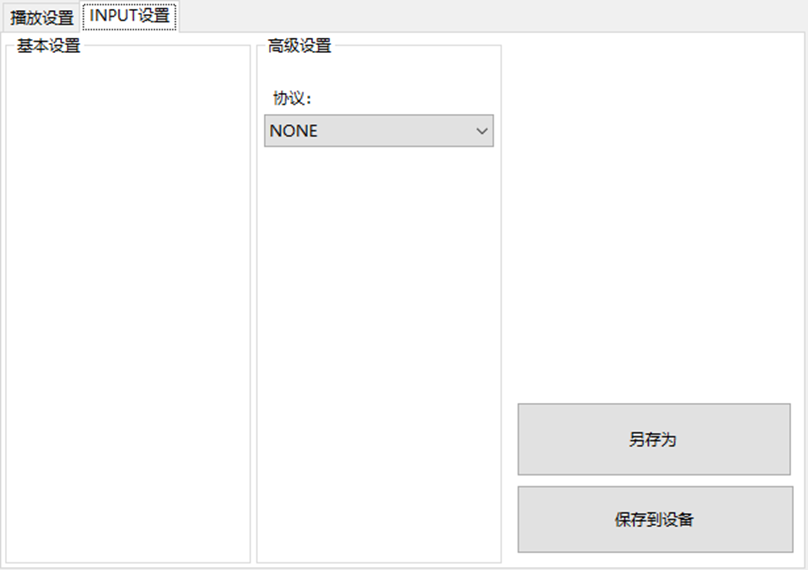
LBE-LEX系列工业语音播放器|预警播报器|喇叭蜂鸣器的上位机配置操作说明
LBE-LEX系列工业语音播放器|预警播报器|喇叭蜂鸣器专为工业环境精心打造,完美适配AGV和无人叉车。同时,集成以太网与语音合成技术,为各类高级系统(如MES、调度系统、库位管理、立库等)提供高效便捷的语音交互体验。 L…...

golang循环变量捕获问题
在 Go 语言中,当在循环中启动协程(goroutine)时,如果在协程闭包中直接引用循环变量,可能会遇到一个常见的陷阱 - 循环变量捕获问题。让我详细解释一下: 问题背景 看这个代码片段: fo…...

页面渲染流程与性能优化
页面渲染流程与性能优化详解(完整版) 一、现代浏览器渲染流程(详细说明) 1. 构建DOM树 浏览器接收到HTML文档后,会逐步解析并构建DOM(Document Object Model)树。具体过程如下: (…...
OPenCV CUDA模块图像处理-----对图像执行 均值漂移滤波(Mean Shift Filtering)函数meanShiftFiltering()
操作系统:ubuntu22.04 OpenCV版本:OpenCV4.9 IDE:Visual Studio Code 编程语言:C11 算法描述 在 GPU 上对图像执行 均值漂移滤波(Mean Shift Filtering),用于图像分割或平滑处理。 该函数将输入图像中的…...
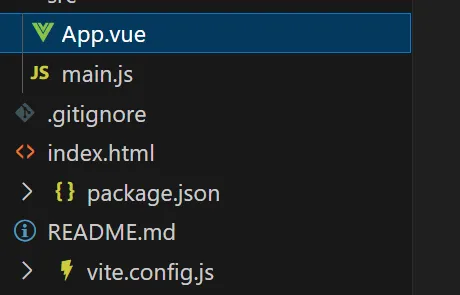
springboot整合VUE之在线教育管理系统简介
可以学习到的技能 学会常用技术栈的使用 独立开发项目 学会前端的开发流程 学会后端的开发流程 学会数据库的设计 学会前后端接口调用方式 学会多模块之间的关联 学会数据的处理 适用人群 在校学生,小白用户,想学习知识的 有点基础,想要通过项…...
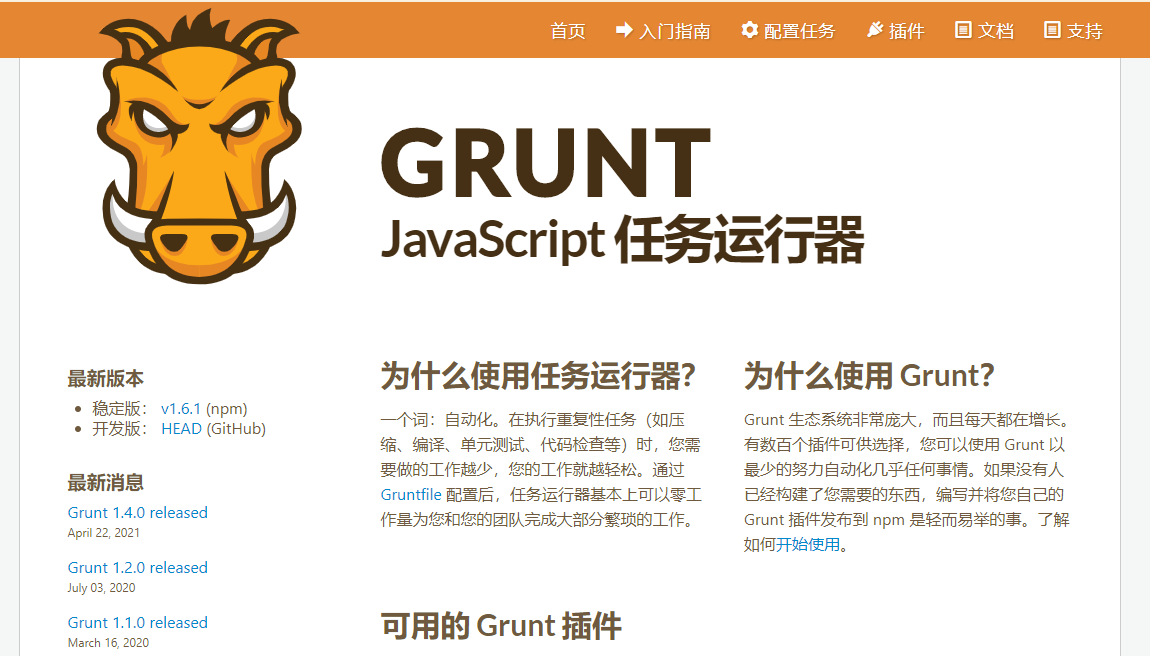
GruntJS-前端自动化任务运行器从入门到实战
Grunt 完全指南:从入门到实战 一、Grunt 是什么? Grunt是一个基于 Node.js 的前端自动化任务运行器,主要用于自动化执行项目开发中重复性高的任务,例如文件压缩、代码编译、语法检查、单元测试、文件合并等。通过配置简洁的任务…...

第7篇:中间件全链路监控与 SQL 性能分析实践
7.1 章节导读 在构建数据库中间件的过程中,可观测性 和 性能分析 是保障系统稳定性与可维护性的核心能力。 特别是在复杂分布式场景中,必须做到: 🔍 追踪每一条 SQL 的生命周期(从入口到数据库执行)&#…...

Spring AI Chat Memory 实战指南:Local 与 JDBC 存储集成
一个面向 Java 开发者的 Sring-Ai 示例工程项目,该项目是一个 Spring AI 快速入门的样例工程项目,旨在通过一些小的案例展示 Spring AI 框架的核心功能和使用方法。 项目采用模块化设计,每个模块都专注于特定的功能领域,便于学习和…...
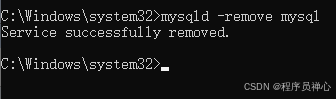
windows系统MySQL安装文档
概览:本文讨论了MySQL的安装、使用过程中涉及的解压、配置、初始化、注册服务、启动、修改密码、登录、退出以及卸载等相关内容,为学习者提供全面的操作指导。关键要点包括: 解压 :下载完成后解压压缩包,得到MySQL 8.…...