实现一个比ant功能更丰富的Modal组件
普通的modal组件如下:
我们写的modal额外支持,后面没有蒙版,并且Modal框能够拖拽
还支持渲染在文档流里,上面的都是fixed布局,我们这个正常渲染到文档下面:
render部分
<RenderDialog{...restState}visible={visible}prefixCls={prefixCls}header={renderHeader}attach={attach}closeBtn={renderCloseIcon()}classPrefix={classPrefix}onClose={onClose}onConfirm={onConfirm}footer={footer === true ? defaultFooter() : footer}ref={dialogDom}/>
大家记住这个RenderDialog,接下来都是上面传参的解释:
resetState: 是对象,一堆属性的集合,哪些属性呢,我们往下看
// 其实默认参数写到这里并不科学,因为react有个静态属性defaultProps属性支持合并propsconst [state, setState] = useSetState<DialogProps>({width: 520, // 默认宽度是520visible: false, // 默认visible是falsezIndex: 2500, // 默认zIndex 2500placement: 'center', // 默认渲染到屏幕中间mode: 'modal', // 默认的模式是modal是ant那种渲染结果,其他模式我们下面谈showOverlay: true, // 是否展示透明黑色蒙版destroyOnClose: false, // 关闭弹窗的时候是否销毁里面的内容draggable: false, // 是否能拖拽modalpreventScrollThrough: true, // 防止滚动穿透...props,});
restState在下面,除了state上某些属性。
const { visible, // 控制对话框是否显示 attach, // 对话框挂载的节点,默认挂在组件本身的位置。数据类型为 String 时,会被当作选择器处理,进行节点查询。示例:'body' 或 () => document.body closeBtn, // 关闭按钮,可以自定义。值为 true 显示默认关闭按钮,值为 false 不显示关闭按钮。值类型为 string 则直接显示值,// 底部操作栏,默认会有“确认”和“取消”两个按钮。值为 true 显示默认操作按钮,值为 false 不显示任何内容,值类型为 Function 表示自定义底部内容 footer = true, // 如果“取消”按钮存在,则点击“取消”按钮时触发,同时触发关闭事件 onCancel = noop, // 如果“确认”按钮存在,则点击“确认”按钮时触发,或者键盘按下回车键时触发 onConfirm = noop, // 如果“确认”按钮存在,则点击“确认”按钮时触发,或者键盘按下回车键时触发 cancelBtn = cancelText, // 取消按钮,可自定义。值为 null 则不显示取消按钮。值类型为字符串,则表示自定义按钮文本,值类型为 Object 则表示透传 Button 组件属性。 confirmBtn = confirmText, // 确认按钮。值为 null 则不显示确认按钮。值类型为字符串,则表示自定义按钮文本,值类型为 Object 则表示透传 Button 组件属性。 onClose = noop, // 关闭事件,点击取消按钮、点击关闭按钮、点击蒙层、按下 ESC 等场景下触发 ...restState} = state;
说了这么多,我们接着看RenderDialog组件上传入的属性。
prefixCls不讲了,是css属性前缀,一个字符串,接着看header属性被包装为renderHeader
const renderHeader = useMemo(() => {if (!state.header) return null;const iconMap = {info: <InfoCircleFilledIcon className={`${classPrefix}-is-info`} />,warning: <InfoCircleFilledIcon className={`${classPrefix}-is-warning`} />,error: <InfoCircleFilledIcon className={`${classPrefix}-is-error`} />,success: <CheckCircleFilledIcon className={`${classPrefix}-is-success`} />,};return (<div className={`${prefixCls}__header-content`}>{iconMap[state.theme]}{state.header}</div>);// eslint-disable-next-line react-hooks/exhaustive-deps}, [state.header, state.theme, prefixCls, classPrefix]);
其实就是在header的文字前面多了一个icon,比如成功的弹窗如下:
接着看closeBtn属性
const renderCloseIcon = () => {if (closeBtn === false) return null;if (closeBtn === true) return <CloseIcon style={{ verticalAlign: 'unset' }} />;return closeBtn || <CloseIcon style={{ verticalAlign: 'unset' }} />;};
这个是右上角关闭按钮的Icon,很简单,如果是false,什么都不许安然,如果是undefined或者true渲染这个icon。
好了,我们把整个代码放到下面,有代码注释,没写注释的是上面咋们已经讲过的内容,接着就要进入RenderDialog这个组件内部了。
import 的部分省略了// 渲染 footer的button方法
const renderDialogButton = (btn: TdDialogProps['cancelBtn'], defaultProps: ButtonProps) => {let result = null;if (isString(btn)) {result = <Button {...defaultProps}>{btn}</Button>;}else if (isFunction(btn)) {result = btn();}return result;
};const Dialog = forwardRef((props: DialogProps, ref: React.Ref<DialogInstance>) => {// 这部分忽略就好,用来获取全局配置的css前缀字符串const { classPrefix } = useConfig();// 这个也忽略,获取icon组件的const { CloseIcon, InfoCircleFilledIcon, CheckCircleFilledIcon } = useGlobalIcon({CloseIcon: TdCloseIcon,InfoCircleFilledIcon: TdInfoCircleFilledIcon,CheckCircleFilledIcon: TdCheckCircleFilledIcon,});// 用来引用dialog弹框的domconst dialogDom = useRef<HTMLDivElement>();const [state, setState] = useSetState<DialogProps>({width: 520,visible: false,zIndex: 2500,placement: 'center',mode: 'modal',showOverlay: true,destroyOnClose: false,draggable: false,preventScrollThrough: true,...props,});// 国际化有关的const [local, t] = useLocaleReceiver('dialog');const confirmText = t(local.confirm);const cancelText = t(local.cancel);const {visible,attach,closeBtn,footer = true,onCancel = noop,onConfirm = noop,cancelBtn = cancelText,confirmBtn = confirmText,onClose = noop,...restState} = state;useEffect(() => { setState((prevState) => ({...prevState,...props,}));}, [props, setState, isPlugin]);const prefixCls = `${classPrefix}-dialog`;const renderCloseIcon = () => {if (closeBtn === false) return null;if (closeBtn === true) return <CloseIcon style={{ verticalAlign: 'unset' }} />;return closeBtn || <CloseIcon style={{ verticalAlign: 'unset' }} />;};// 这里把一些外部方法暴露给调用者,只需要传入ref就可以获取React.useImperativeHandle(ref, () => ({show() {setState({ visible: true });},hide() {setState({ visible: false });},destroy() {setState({ visible: false, destroyOnClose: true });},update(newOptions) {setState((prevState) => ({...prevState,...(newOptions as DialogProps),}));},}));const renderHeader = useMemo(() => {if (!state.header) return null;const iconMap = {info: <InfoCircleFilledIcon className={`${classPrefix}-is-info`} />,warning: <InfoCircleFilledIcon className={`${classPrefix}-is-warning`} />,error: <InfoCircleFilledIcon className={`${classPrefix}-is-error`} />,success: <CheckCircleFilledIcon className={`${classPrefix}-is-success`} />,};return (<div className={`${prefixCls}__header-content`}>{iconMap[state.theme]}{state.header}</div>);// eslint-disable-next-line react-hooks/exhaustive-deps}, [state.header, state.theme, prefixCls, classPrefix]);// 渲染footer的时候,点击取消按钮会用到const handleCancel = (e: React.MouseEvent<HTMLButtonElement>) => {onCancel({ e });onClose({ e, trigger: 'cancel' });};// 渲染footer的时候,点击确认按钮会用到const handleConfirm = (e: React.MouseEvent<HTMLButtonElement>) => {onConfirm({ e });};const defaultFooter = () => {const renderCancelBtn = renderDialogButton(cancelBtn, { variant: 'outline' });const renderConfirmBtn = renderDialogButton(confirmBtn, { theme: 'primary' });return (<>{renderCancelBtn &&React.cloneElement(renderCancelBtn, {onClick: handleCancel,...renderCancelBtn.props,})}{renderConfirmBtn &&React.cloneElement(renderConfirmBtn, {onClick: handleConfirm,...renderConfirmBtn.props,})}</>);};return (<RenderDialog{...restState}visible={visible}prefixCls={prefixCls}header={renderHeader}attach={attach}closeBtn={renderCloseIcon()}classPrefix={classPrefix}onClose={onClose}onConfirm={onConfirm}footer={footer === true ? defaultFooter() : footer}ref={dialogDom}/>);
});Dialog.displayName = 'Dialog';
Dialog.defaultProps = dialogDefaultProps;export default Dialog;
接着,我们要渲染的部分其实很简单,包括
- 背后的黑色蒙层
- 弹框* 弹框的标题* 弹框的内容区域* 弹框的footer
- 还需要弹框动画,比如zoom或者fade
渲染黑色蒙层
代码如下,很简单
const renderMask = () => {let maskElement;if (showOverlay) {maskElement = (<CSSTransitionin={visible}appeartimeout={transitionTime}classNames={`${prefixCls}-fade`}mountOnEnterunmountOnExitnodeRef={maskRef}><div ref={maskRef} className={`${prefixCls}__mask`} /></CSSTransition>);}return maskElement;};
首先介绍一下CSSTransition,这是react-transition-group动画库的一个组件,用来帮助我们实现css动画的。 其中一些属性说明如下:
- in: ture就是开始动画,false就是停止动画
- appear:boolean,为
false时当CSSTransition控件加载完毕后不执行动画,为true时控件加载完毕则立即执行动画。如果要组件初次渲染就有动画,则需要设成true。 - timeout 动画时间
- classNames:动画的类名,比如classNames:‘demo’,会自动在进入动画的时候帮你把类名改为 demo-enter-active, demo-enter-done, 在退出动画同样会有类名的改变。
- mountOnEnter:一进来的时候不显示dom元素
- unmountOnExit:boolean,为
true时组件将移除处于隐藏状态的元素,为false时组件保持动画结束时的状态而不移除元素。一般要设成true。 - nodeRef,获取蒙层的ref
蒙层主要靠css实现,我们看下css
position: fixed;top: 0;left: 0;width: 100%;height: 100%;z-index: 1;background: var(--td-mask-active);pointer-events: auto;
渲染弹框主体
也非常简单啊,我们把注释写在下面的代码里了,其中有一个需要小小注意的功能就是拖拽功能
// 渲染Dialog主体const renderDialog = () => {const dest: any = {};// 把width变为有px结尾的字符串if (props.width !== undefined) {dest.width = GetCSSValue(props.width);}// normal 场景下,需要设置 zindex 为auto 避免出现多个 dialog,normal 出现在最上层if (props.mode === 'normal') {dest.zIndex = 'auto';}// 获取footerconst footer = props.footer ? <div className={`${prefixCls}__footer`}>{props.footer}</div> : null;// 获取headerconst { header } = props;// 获取Dialog bodyconst body = <div className={`${prefixCls}__body`}>{props.body || props.children}</div>;// 关闭按钮,可以自定义。值为 true 显示默认关闭按钮,值为 false 不显示关闭按钮。值类型为 string 则直接显示值,如:“关闭”。const closer = closeBtn && (<span onClick={handleCloseBtnClick} className={`${prefixCls}__close`}>{closeBtn}</span>);const validWindow = typeof window === 'object';// 获取屏幕高度const screenHeight = validWindow ? window.innerHeight || document.documentElement.clientHeight : undefined;// 获取屏幕宽度const screenWidth = validWindow ? window.innerWidth || document.documentElement.clientWidth : undefined;// 设置styleconst style = { ...dest, ...props.style };let dialogOffset = { x: 0, y: 0 };// 拖拽代码实现部分const onDialogMove = (e: MouseEvent) => {// offsetWidth是指元素的宽 + padding + border的总和const { style, offsetWidth, offsetHeight } = dialog.current;// diffX是指弹框部分距离body左边部分let diffX = e.clientX - dialogOffset.x;let diffY = e.clientY - dialogOffset.y;// 拖拽上左边界限制if (diffX < 0) diffX = 0;if (diffY < 0) diffY = 0;// 右边的限制if (screenWidth - offsetWidth - diffX < 0) diffX = screenWidth - offsetWidth;// 下边的限制if (screenHeight - offsetHeight - diffY < 0) diffY = screenHeight - offsetHeight;style.position = 'absolute';style.left = `${diffX}px`;style.top = `${diffY}px`;};const onDialogMoveEnd = () => {// 恢复指针样式为默认,并且注销mousemove, mouseup事件dialog.current.style.cursor = 'default';document.removeEventListener('mousemove', onDialogMove);document.removeEventListener('mouseup', onDialogMoveEnd);};// 拖拽开始,对应mouseDown事件const onDialogMoveStart = (e: React.MouseEvent<HTMLDivElement>) => {contentClickRef.current = true;// 阻止事件冒泡, mode === 'modeless才能拖拽if (canDraggable && e.currentTarget === e.target) {const { offsetLeft, offsetTop, offsetHeight, offsetWidth } = dialog.current;// 如果弹出框超出屏幕范围 不能进行拖拽if (offsetWidth > screenWidth || offsetHeight > screenHeight) return;// 拖拽样式设置为movedialog.current.style.cursor = 'move';// 计算鼠标 e.clientX是鼠标在屏幕的坐标,offsetLeft是Dialog主体跟body的距离// 所以e.clientX - offsetLeft就是鼠标在是Dialog主体上的横坐标const diffX = e.clientX - offsetLeft;const diffY = e.clientY - offsetTop;dialogOffset = {x: diffX,y: diffY,};// 此时把mousemove和mouseup事件也绑定一下,其实不建议绑定在这里直接操作domdocument.addEventListener('mousemove', onDialogMove);document.addEventListener('mouseup', onDialogMoveEnd);}};// 顶部定位实现const positionStyle: any = {};if (props.top) {const topValue = GetCSSValue(props.top);positionStyle.paddingTop = topValue;}// 此处获取定位方式 top 优先级较高 存在时 默认使用 top 定位const positionClass = classnames(`${prefixCls}__position`,{ [`${prefixCls}--top`]: !!props.top },`${props.placement && !props.top ? `${prefixCls}--${props.placement}` : ''}`,);// 然后就是用css去渲染header body和footerconst dialogElement = (<div className={isNormal ? '' : `${prefixCls}__wrap`}><div className={isNormal ? '' : positionClass} style={positionStyle} onClick={onMaskClick} ref={dialogPosition}><divref={dialog}style={style}className={classnames(`${prefixCls}`, `${prefixCls}--default`)}onMouseDown={onDialogMoveStart}><div className={classnames(`${prefixCls}__header`)}>{header}{closer}</div>{body}{footer}</div></div></div>);return (<CSSTransitionin={props.visible}appearmountOnEnterunmountOnExit={destroyOnClose}timeout={transitionTime}classNames={`${prefixCls}-zoom`}onEntered={props.onOpened}onExited={onAnimateLeave}nodeRef={dialog}>{dialogElement}</CSSTransition>);};
我们这里贴一下css部分:
header:
.t-dialog__header {color: var(--td-text-color-primary);font: var(--td-font-title-medium);font-weight: 600;display: flex;align-items: flex-start;word-break: break-word;
}
这里注意下:word-wrap:break-word
它会把整个单词看成一个整体,如果该行末端宽度不够显示整个单词,它会自动把整个单词放到下一行,而不会把单词截断掉的。
body
.t-dialog__body {padding: 16px 0;color: var(--td-text-color-secondary);font: var(--td-font-body-medium);overflow: auto;word-break: break-word;
}
footer
width: 100%;text-align: right;padding: 16px 0 0 0;
好了,我们结合一下弹框和蒙层,看下render函数
const render = () => {// 。。。省略css部分// 如果不是 modal 模式 默认没有 mask 也就没有相关点击 mask 事件const dialog = (<div ref={wrap} className={wrapClass} style={wrapStyle} onKeyDown={handleKeyDown} tabIndex={0}>{mode === 'modal' && renderMask()}{dialogBody} // 这里就是我们上面讲的renderDialog</div>);return dialog;};
设置body overflow:hiiden
为啥要设置body overflow:hiiden这个属性呢,你打开modal弹窗的时候,如果此时body还有滚动条,那么你滚动鼠标滚轮还可以向下滑动,但是一般情况下,我们打开弹框,是希望用户目标锁定在当前交互,此时最好不要允许用户滚动界面。
当然你也可以允许用户滚动,我们用一个preventScrollThrough参数控制。
先记住当前body的css样式,以及body的overflow的值,代码如下
useLayoutEffect(() => {bodyOverflow.current = document.body.style.overflow;bodyCssTextRef.current = document.body.style.cssText;}, []);
 const isModal = mode === 'modal';
useLayoutEffect(() => { // 只有modal数量小于1的时候才重置样式,因为可能出现多个弹框,那么关闭一个弹框就出现滚动条明显不对if (isModal) {const openDialogDom = document.querySelectorAll(`${prefixCls}__mode`);if (openDialogDom.length < 1) {document.body.style.cssText = bodyCssTextRef.current;}// 组件销毁后重置 body 样式return () => {if (isModal) {// 此处只能查询 mode 模式的 dialog 个数 因为 modeless 会点击透传 normal 是正常文档流const openDialogDom = document.querySelectorAll(`${prefixCls}__mode`);if (openDialogDom.length < 1) {document.body.style.cssText = bodyCssTextRef.current;document.body.style.overflow = bodyOverflow.current;}} };}, [preventScrollThrough, attach, visible, mode, isModal, showInAttachedElement, prefixCls]);
上面的代码还有一个问题,就是我们需要preventScrollThrough这个参数去控制是否可以body滚动页面,这个也是算比ant更丰富的功能。
const isModal = mode === 'modal';useLayoutEffect(() => {// 处于显示态if (visible) {// isModal表示是否是普通弹框,就是带黑色蒙层的// bodyOverflow.current 引用的是body的overflow属性// preventScrollThrough是代表是否可以滚动body// !showInAttachedElement表示不挂载到其他dom上if (isModal && bodyOverflow.current !== 'hidden' && preventScrollThrough && !showInAttachedElement) {// 求出滚动条的宽度const scrollWidth = window.innerWidth - document.body.offsetWidth;// 减少回流if (bodyCssTextRef.current === '') {let bodyCssText = 'overflow: hidden;';if (scrollWidth > 0) {bodyCssText += `position: relative;width: calc(100% - ${scrollWidth}px);`;}document.body.style.cssText = bodyCssText;} else {if (scrollWidth > 0) {document.body.style.width = `calc(100% - ${scrollWidth}px)`;document.body.style.position = 'relative';}document.body.style.overflow = 'hidden';}}// 刚进页面就focus到弹框组件上if (wrap.current) {wrap.current.focus();}} else if (isModal) {const openDialogDom = document.querySelectorAll(`${prefixCls}__mode`);if (openDialogDom.length < 1) {document.body.style.cssText = bodyCssTextRef.current;}}// 组件销毁后重置 body 样式return () => {if (isModal) {// 此处只能查询 mode 模式的 dialog 个数 因为 modeless 会点击透传 normal 是正常文档流const openDialogDom = document.querySelectorAll(`${prefixCls}__mode`);if (openDialogDom.length < 1) {document.body.style.cssText = bodyCssTextRef.current;document.body.style.overflow = bodyOverflow.current;}} else {document.body.style.cssText = bodyCssTextRef.current;document.body.style.overflow = bodyOverflow.current;}};}, [preventScrollThrough, attach, visible, mode, isModal, showInAttachedElement, prefixCls]);
其实还有一个逻辑,是把弹窗渲染到任意dom里,需要一个Portal组件,我们这里就不说了,后续将Popup或者叫trigger组件的时候我们讲吧。一篇文档内容太多不好消化。
好了,主逻辑已经写完了,很简单吧!
接下来看下完整代码,没有注释的部分是上面已经讲过的
省去了import// 把css的数字转为有px结尾的字符串,,这里其实应该写到一个utils文件夹里,不应该跟主代码混在一起
function GetCSSValue(v: string | number) {return Number.isNaN(Number(v)) ? v : `${Number(v)}px`;
}// 动画执行时间,这里其实应该写到一个constants文件里,不应该跟主代码混在一起
const transitionTime = 300;const RenderDialog = forwardRef((props: RenderDialogProps, ref: React.Ref<HTMLDivElement>) => {// 这里不用看,跟国际化有关const [local] = useLocaleReceiver('dialog');const {prefixCls, attach, // 对话框挂载的节点,默认挂在组件本身的位置。数据类型为 String 时,会被当作选择器处理,进行节点查询。示例:'body' 或 () => document.bodyvisible, // 控制对话框是否显示mode, // 对话框类型,有三种:模态对话框、非模态对话框和普通对话框。弹出「模态对话框」时,只能操作对话框里面的内容,不能操作其他内容。弹出「非模态对话框」时,则可以操作页面内所有内容。「普通对话框」是指没有脱离文档流的对话框,可以在这个基础上开发更多的插件zIndex, // 对话框层级,Web 侧样式默认为 2500,移动端和小程序样式默认为 1500showOverlay, // 是否显示遮罩层onEscKeydown = noop,// 按下 ESC 时触发事件onClosed = noop, // 对话框消失动画效果结束后触发onClose = noop, // 关闭事件,点击取消按钮、点击关闭按钮、点击蒙层、按下 ESC 等场景下触发onCloseBtnClick = noop, // 点击右上角关闭按钮时触发onOverlayClick = noop, // 如果蒙层存在,点击蒙层时触发onConfirm = noop, // 如果“确认”按钮存在,则点击“确认”按钮时触发,或者键盘按下回车键时触发preventScrollThrough, // 防止滚动穿透closeBtn, // 关闭按钮,可以自定义。值为 true 显示默认关闭按钮,值为 false 不显示关闭按钮。值类型为 string 则直接显示值,如:“关闭”。值类型为 TNode,则表示呈现自定义按钮示例closeOnEscKeydown, // 按下 ESC 时是否触发对话框关闭事件confirmOnEnter, // 是否在按下回车键时,触发确认事件closeOnOverlayClick, // 点击蒙层时是否触发关闭事件destroyOnClose, // 是否在关闭弹框的时候销毁子元素showInAttachedElement, // 仅在挂载元素中显示抽屉,默认在浏览器可视区域显示。父元素需要有定位属性,如:position: relative} = props;const wrap = useRef<HTMLDivElement>(); // 挂载到包裹弹框的dom上,包裹了好几层。。。const dialog = useRef<HTMLDivElement>(); // 引用弹窗domconst dialogPosition = useRef<HTMLDivElement>(); // 包裹弹窗,用于定位的dom引用const maskRef = useRef<HTMLDivElement>(); // 蒙层的dom引用const bodyOverflow = useRef<string>(); const bodyCssTextRef = useRef<string>();const contentClickRef = useRef(false);const isModal = mode === 'modal';const isNormal = mode === 'normal';const canDraggable = props.draggable && mode === 'modeless';const dialogOpenClass = `${prefixCls}__${mode}`;useLayoutEffect(() => {bodyOverflow.current = document.body.style.overflow;bodyCssTextRef.current = document.body.style.cssText;}, []);useLayoutEffect(() => {if (visible) {if (isModal && bodyOverflow.current <img src="https://developer.mozilla.org/en-US/docs/Web/API/KeyboardEvent/keyCodeif (e.key === 'Escape') {e.stopPropagation();onEscKeydown({ e });if (closeOnEscKeydown ?? local.closeOnEscKeydown) {onClose({ e, trigger: 'esc' });}} else if (e.key === 'Enter' || e.key === 'NumpadEnter') {// 回车键触发点击确认事件e.stopPropagation();if (confirmOnEnter) {onConfirm({ e });}}};// 渲染Dialog主体const renderDialog = () => {const dest: any = {};// 把width变为有px结尾的字符串if (props.width !== undefined) {dest.width = GetCSSValue(props.width);}// normal 场景下,需要设置 zindex 为auto 避免出现多个 dialog,normal 出现在最上层if (props.mode === 'normal') {dest.zIndex = 'auto';}// 获取footerconst footer = props.footer ? <div className={`${prefixCls}__footer`}>{props.footer}</div> : null;// 获取headerconst { header } = props;// 获取Dialog bodyconst body = <div className={`${prefixCls}__body`}>{props.body || props.children}</div>;// 关闭按钮,可以自定义。值为 true 显示默认关闭按钮,值为 false 不显示关闭按钮。值类型为 string 则直接显示值,如:“关闭”。const closer = closeBtn && (<span onClick={handleCloseBtnClick} className={`${prefixCls}__close`}>{closeBtn}</span>);const validWindow = typeof window === 'object';// 获取屏幕高度const screenHeight = validWindow ? window.innerHeight || document.documentElement.clientHeight : undefined;// 获取屏幕宽度const screenWidth = validWindow ? window.innerWidth || document.documentElement.clientWidth : undefined;// 设置styleconst style = { ...dest, ...props.style };let dialogOffset = { x: 0, y: 0 };// 拖拽代码实现部分const onDialogMove = (e: MouseEvent) => {// offsetWidth是指元素的宽 + padding + border的总和const { style, offsetWidth, offsetHeight } = dialog.current;// diffX是指弹框部分距离body左边部分let diffX = e.clientX - dialogOffset.x;let diffY = e.clientY - dialogOffset.y;// 拖拽上左边界限制if (diffX < 0) diffX = 0;if (diffY < 0) diffY = 0;// 右边的限制if (screenWidth - offsetWidth - diffX < 0) diffX = screenWidth - offsetWidth;// 下边的限制if (screenHeight - offsetHeight - diffY < 0) diffY = screenHeight - offsetHeight;style.position = 'absolute';style.left = `${diffX}px`;style.top = `${diffY}px`;};const onDialogMoveEnd = () => {// 恢复指针样式为默认,并且注销mousemove, mouseup事件dialog.current.style.cursor = 'default';document.removeEventListener('mousemove', onDialogMove);document.removeEventListener('mouseup', onDialogMoveEnd);};// 拖拽开始,对应mouseDown事件const onDialogMoveStart = (e: React.MouseEvent<HTMLDivElement>) => {contentClickRef.current = true;// 阻止事件冒泡, mode === 'modeless才能拖拽if (canDraggable && e.currentTarget === e.target) {const { offsetLeft, offsetTop, offsetHeight, offsetWidth } = dialog.current;// 如果弹出框超出屏幕范围 不能进行拖拽if (offsetWidth > screenWidth || offsetHeight > screenHeight) return;// 拖拽样式设置为movedialog.current.style.cursor = 'move';// 计算鼠标 e.clientX是鼠标在屏幕的坐标,offsetLeft是Dialog主体跟body的距离// 所以e.clientX - offsetLeft就是鼠标在是Dialog主体上的横坐标const diffX = e.clientX - offsetLeft;const diffY = e.clientY - offsetTop;dialogOffset = {x: diffX,y: diffY,};// 此时把mousemove和mouseup事件也绑定一下,其实不建议绑定在这里直接操作domdocument.addEventListener('mousemove', onDialogMove);document.addEventListener('mouseup', onDialogMoveEnd);}};// 顶部定位实现const positionStyle: any = {};if (props.top) {const topValue = GetCSSValue(props.top);positionStyle.paddingTop = topValue;}// 此处获取定位方式 top 优先级较高 存在时 默认使用 top 定位const positionClass = classnames(`${prefixCls}__position`,{ [`${prefixCls}--top`]: !!props.top },`${props.placement && !props.top ? `${prefixCls}--${props.placement}` : ''}`,);const dialogElement = (<div className={isNormal ? '' : `${prefixCls}__wrap`}><div className={isNormal ? '' : positionClass} style={positionStyle} onClick={onMaskClick} ref={dialogPosition}><divref={dialog}style={style}className={classnames(`${prefixCls}`, `${prefixCls}--default`)}onMouseDown={onDialogMoveStart}><div className={classnames(`${prefixCls}__header`)}>{header}{closer}</div>{body}{footer}</div></div></div>);return (<CSSTransitionin={props.visible}appearmountOnEnterunmountOnExit={destroyOnClose}timeout={transitionTime}classNames={`${prefixCls}-zoom`}onEntered={props.onOpened}onExited={onAnimateLeave}nodeRef={dialog}>{dialogElement}</CSSTransition>);};const renderMask = () => {let maskElement;if (showOverlay) {maskElement = (<CSSTransitionin={visible}appeartimeout={transitionTime}classNames={`${prefixCls}-fade`}mountOnEnterunmountOnExitnodeRef={maskRef}><div ref={maskRef} className={`${prefixCls}__mask`} /></CSSTransition>);}return maskElement;};const render = () => {const style: CSSProperties = {};if (visible) {style.display = 'block';}const wrapStyle = {...style,zIndex,};const dialogBody = renderDialog();const wrapClass = classnames(props.className,`${prefixCls}__ctx`,!isNormal ? `${prefixCls}__ctx--fixed` : '',visible ? dialogOpenClass : '',isModal && showInAttachedElement ? `${prefixCls}__ctx--absolute` : '',props.mode === 'modeless' ? `${prefixCls}__ctx--modeless` : '',);// 如果不是 modal 模式 默认没有 mask 也就没有相关点击 mask 事件const dialog = (<div ref={wrap} className={wrapClass} style={wrapStyle} onKeyDown={handleKeyDown} tabIndex={0}>{mode === 'modal' && renderMask()}{dialogBody}</div>);let dom = null;if (visible || wrap.current) {// normal 模式 attach 无效if (attach === '' || isNormal) {dom = dialog;} else {dom = (<CSSTransitionin={visible}appeartimeout={transitionTime}mountOnEnterunmountOnExit={destroyOnClose}nodeRef={portalRef}><Portal attach={attach} ref={portalRef}>{dialog}</Portal></CSSTransition>);}}return dom;};return render()" style="margin: auto" />
});RenderDialog.defaultProps = dialogDefaultProps;export default RenderDialog;
最后
最近还整理一份JavaScript与ES的笔记,一共25个重要的知识点,对每个知识点都进行了讲解和分析。能帮你快速掌握JavaScript与ES的相关知识,提升工作效率。
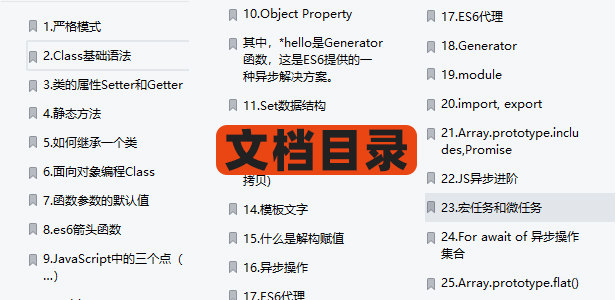
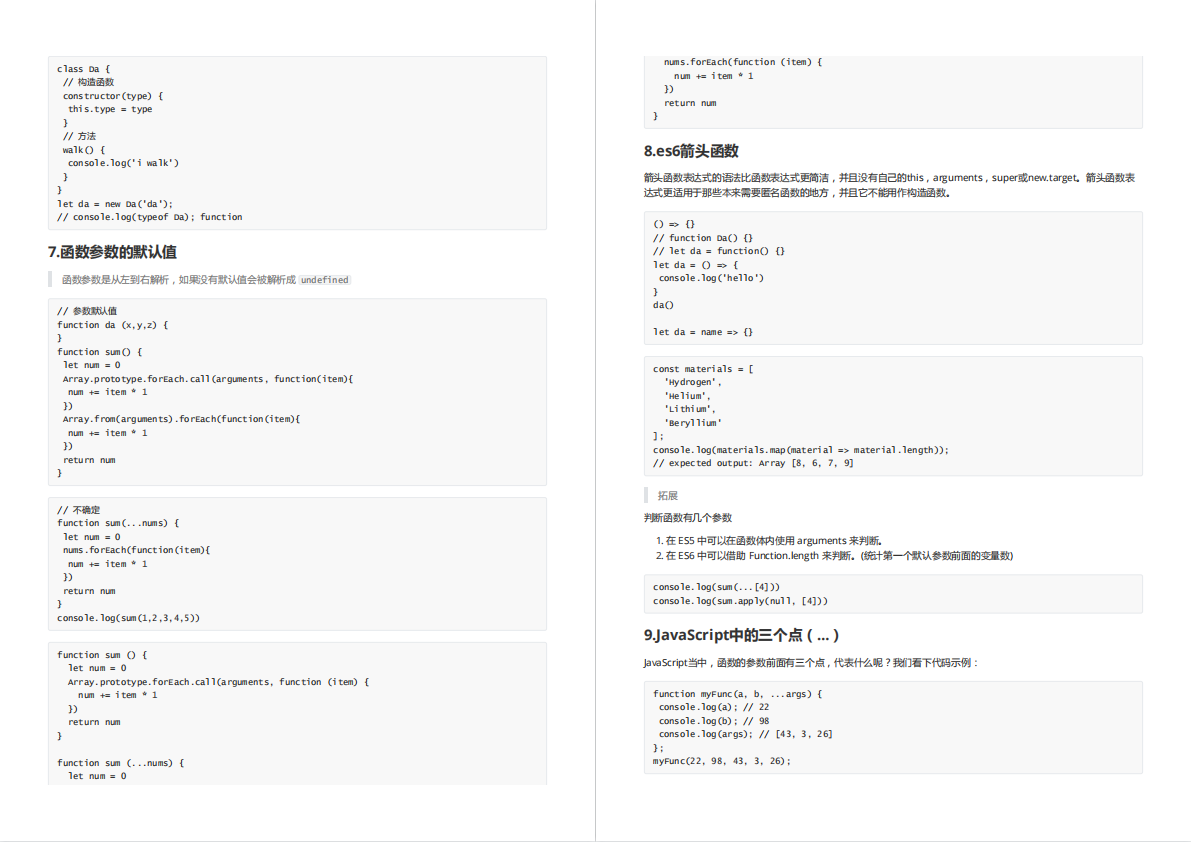

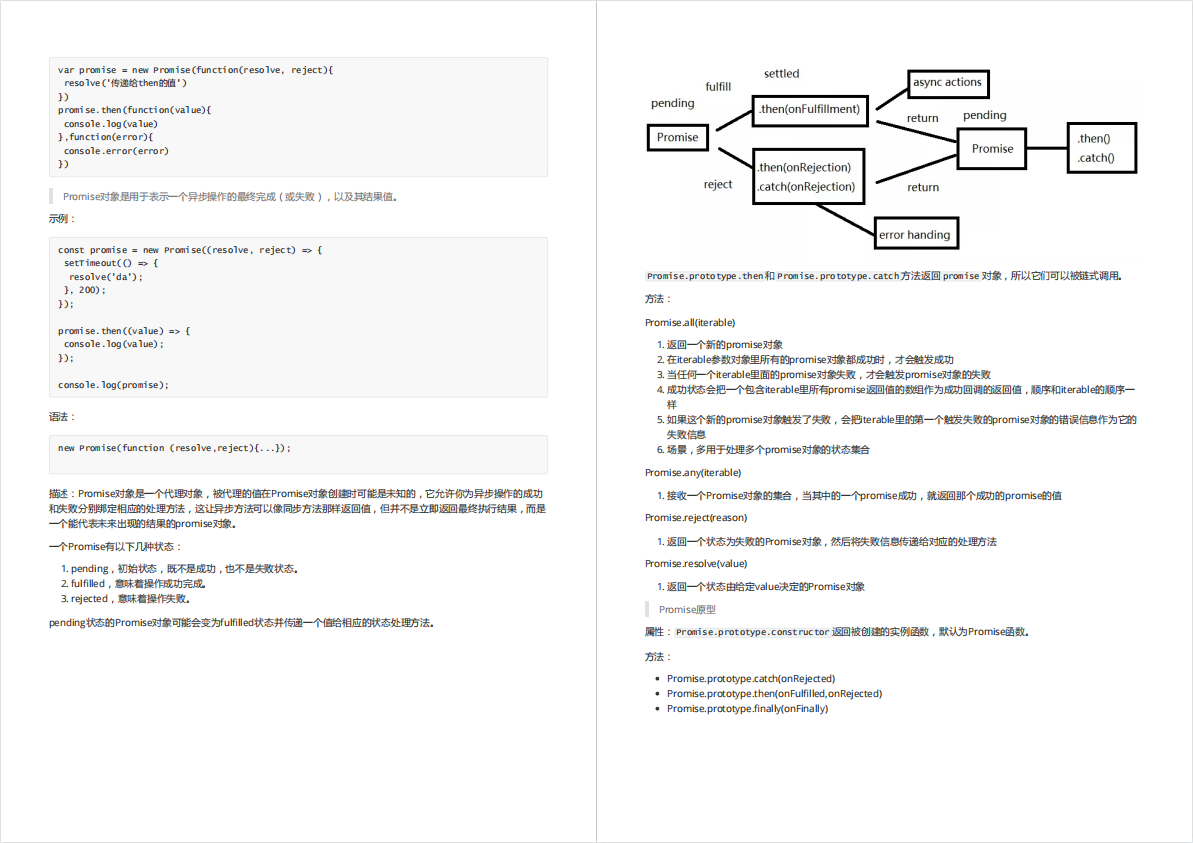
有需要的小伙伴,可以点击下方卡片领取,无偿分享
相关文章:

实现一个比ant功能更丰富的Modal组件
普通的modal组件如下: 我们写的modal额外支持,后面没有蒙版,并且Modal框能够拖拽 还支持渲染在文档流里,上面的都是fixed布局,我们这个正常渲染到文档下面: render部分 <RenderDialog{...restState}visi…...

2023美赛F题思路数据代码分享
文章目录赛题思路2023年美国大学生数学建模竞赛选题&论文一、关于选题二、关于论文格式三、关于论文提交四、论文提交流程注意不要手滑美赛F题思路数据代码【最新】赛题思路 (赛题出来以后第一时间在CSDN分享) 最新进度在文章最下方卡片,加入获取一手资源 202…...
进行交互)
Flutter如何与Native(Android)进行交互
前言 上一篇文章《Flutter混合开发:Android中如何启动Flutter》中我们介绍了如何在Native(Android项目)中启动Flutter,展示Flutter页面。但是在开发过程中,很多时候并不是简单的展示一个页面即可,还会涉及…...

数据库主从复制和读写分离
主从数据库和数据库集群的一些问题 数据库集群和主从数据库最本质的区别,其实也就是data-sharing和nothing-sharing的区别。集群是共享存储的。主从复制中没有任何共享。每台机器都是独立且完整的系统。 什么是主从复制? 主从复制,是用来建立一个和主数…...
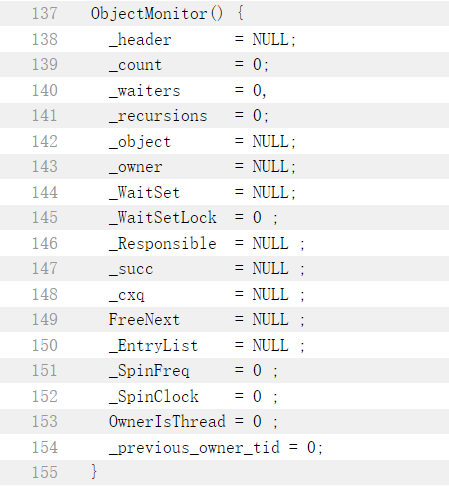
Java并发编程面试题——线程安全(原子性、可见性、有序性)
文章目录一、原子性高频问题1.1 Java中如何实现线程安全?1.2 CAS底层实现1.3 CAS的常见问题1.4 四种引用类型 ThreadLocal的问题?二、可见性高频问题2.1 Java的内存模型2.2 保证可见性的方式2.3 volatile修饰引用数据类型2.4 有了MESI协议,为啥还有vol…...

DialogFragment内存泄露问题能不能一次性改好
孽缘 自DialogFragment在Android3.0之后作为一种特殊的Fragment引入,官方建议使用DialogFragment代替Dialog或者AllertDialog来实现弹框的功能,因为它可以更好的管理Dialog的生命周期以及可以更好复用。 然而建议虽好,实用须谨慎,…...
java学习--多线程
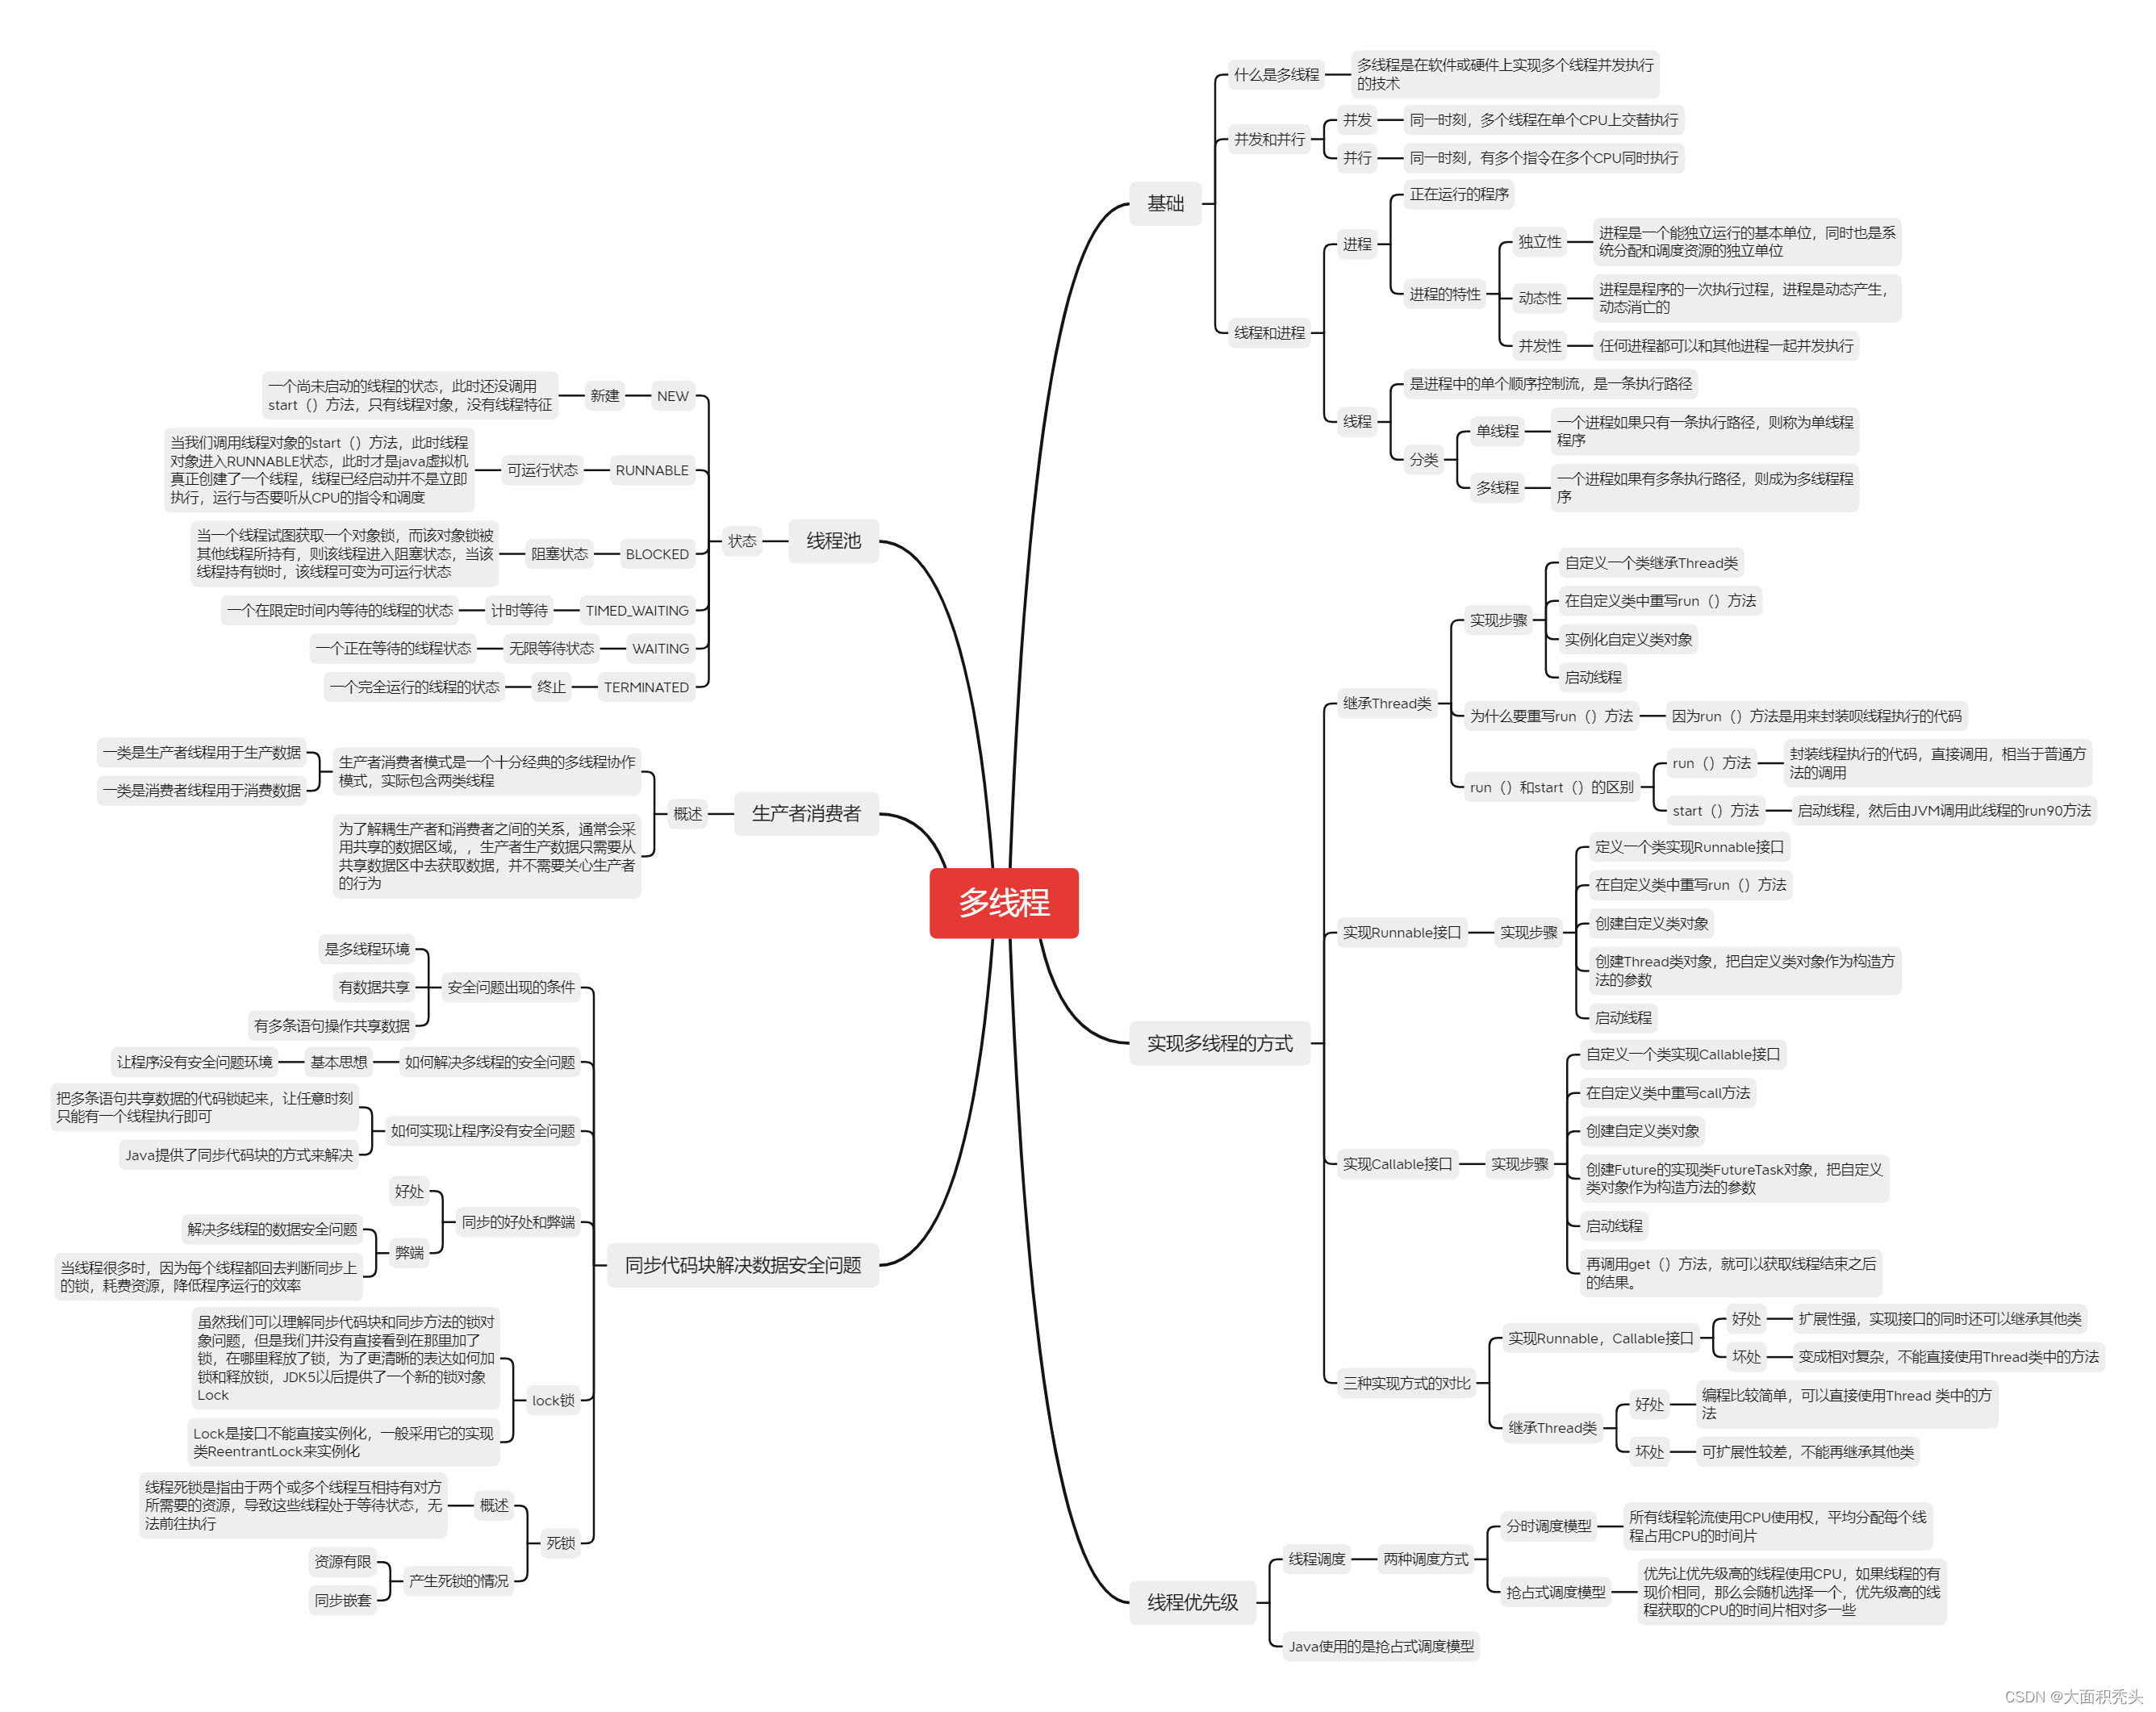
多线程 了解多线程 多线程是指从软件或者硬件上实现多个线程并发执行的技术。 具有多线程能力的计算机因有硬件支持而能够在同一时间执行多个线程,提升性能。 并发和并行 并行:在同一时刻,有多个指令在CPU上同时执行并发࿱…...
90后阿里P7技术专家晒出工资单:狠补了这个,真香...
最近一哥们跟我聊天装逼,说他最近从阿里跳槽了,我问他跳出来拿了多少?哥们表示很得意,说跳槽到新公司一个月后发了工资,月入5万多,表示很满足!这样的高薪资着实让人羡慕,我猜这是税后…...
2023美赛C题:Wordle筛选算法
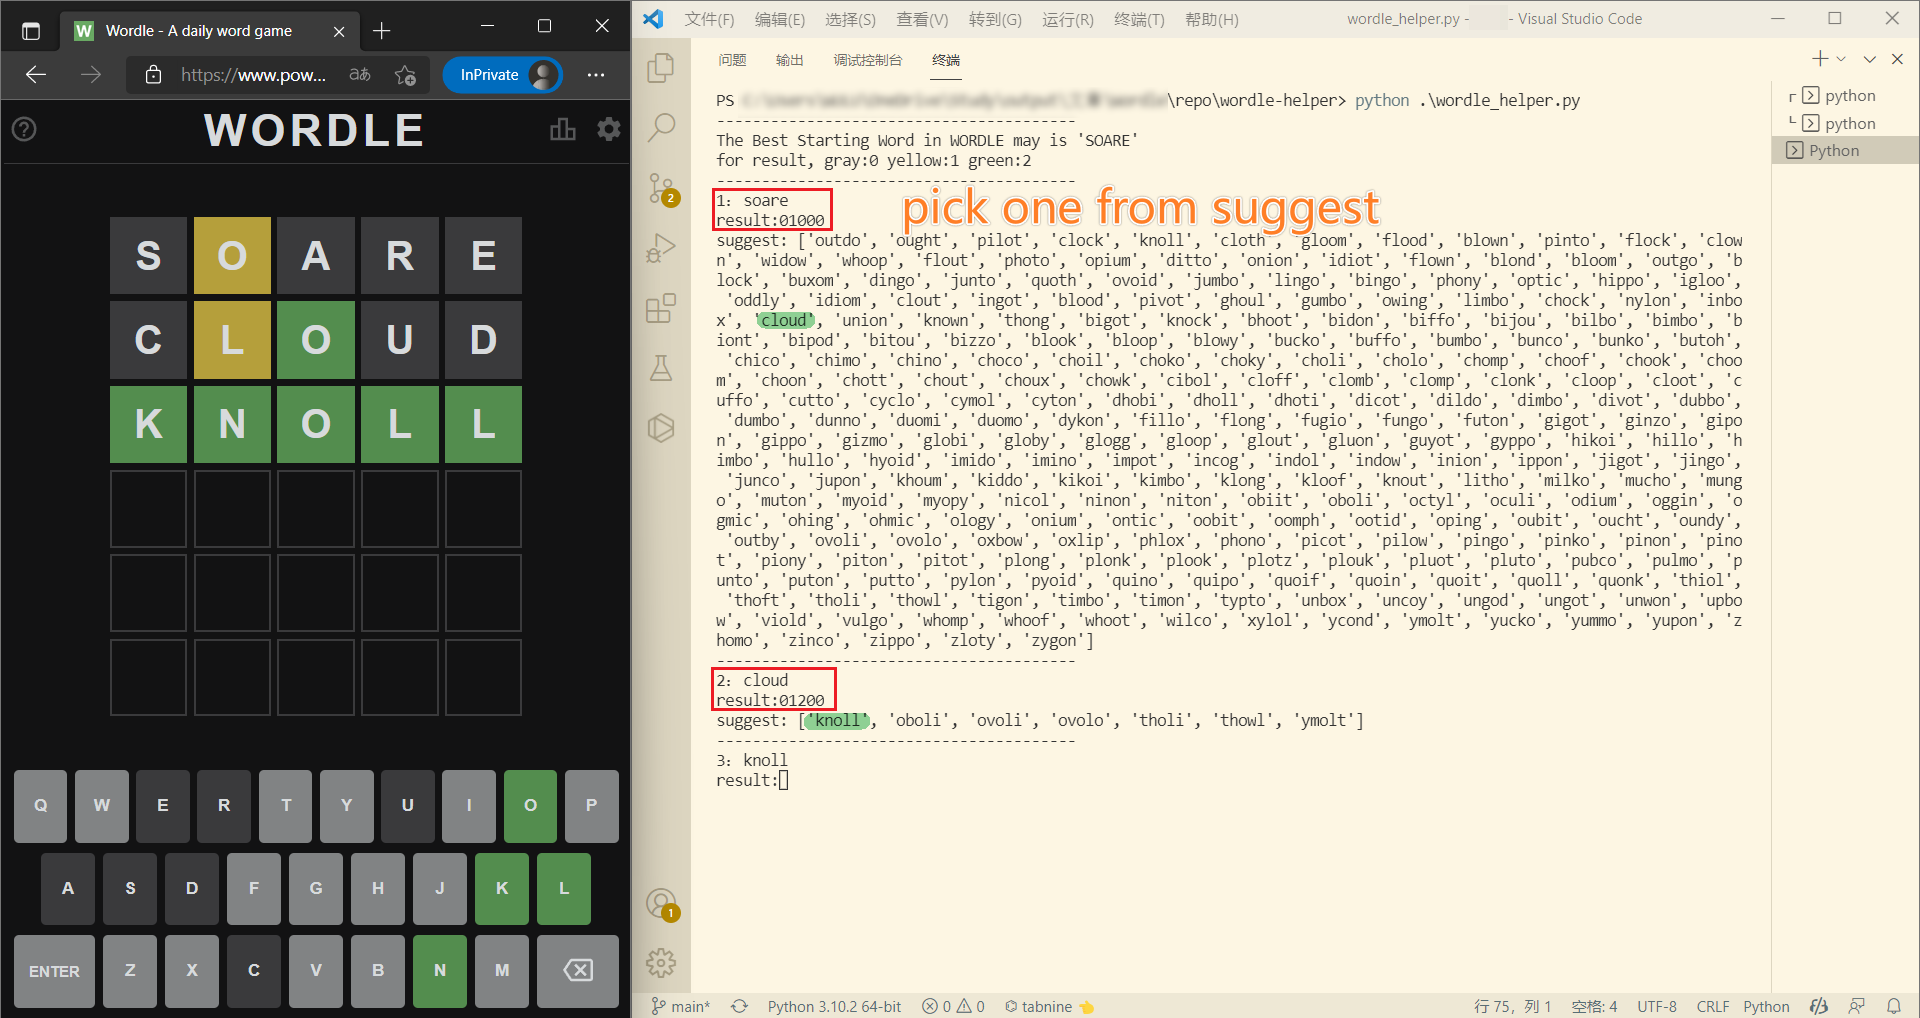
Wordle 规则介绍 Wordle 每天会更新一个5个字母的单词,在6次尝试中猜出单词就算成功。每个猜测必须是一个有效的单词(不能是不能组成单词的字母排列)。 每次猜测后,字母块的颜色会改变,颜色含义如下: 程…...
SpringBoot 集成 Kafka
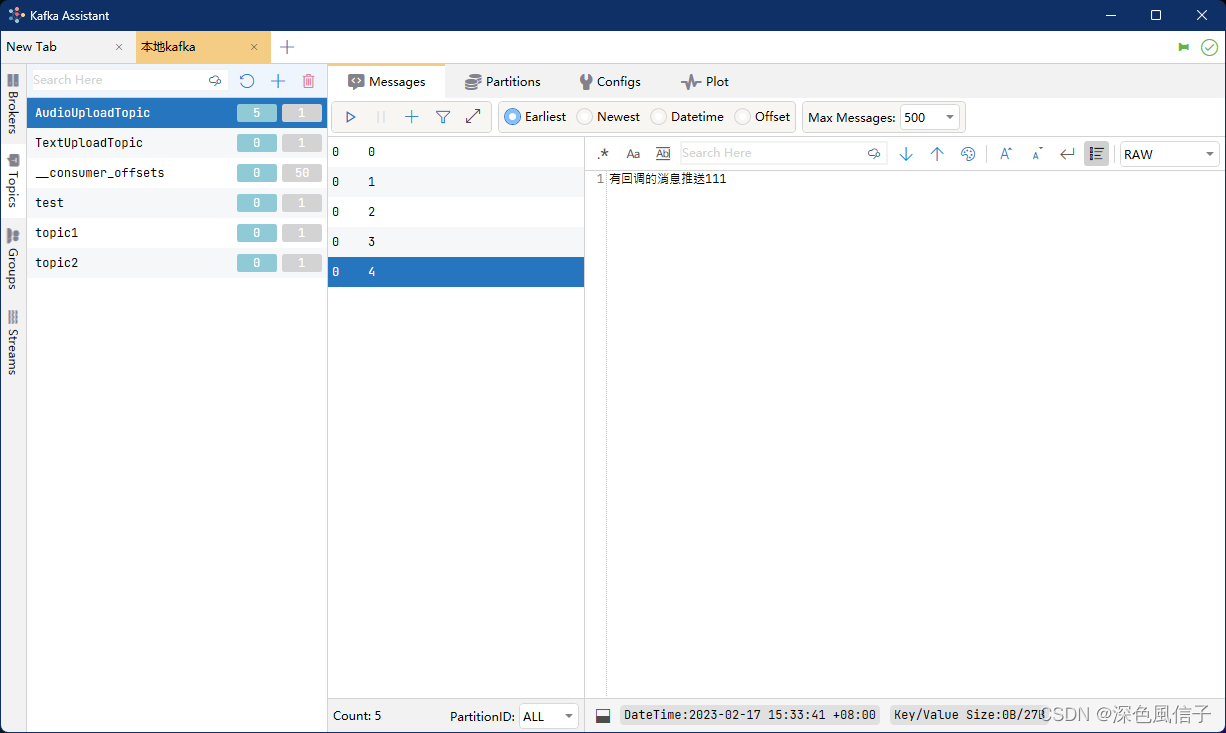
SpringBoot 集成 Kafka1 安装 Kafka2 创建 Topic3 Java 创建 Topic4 SpringBoot 项目4.1 pom.xml4.2 application.yml4.3 KafkaApplication.java4.4 CustomizePartitioner.java4.5 KafkaInitialConfig.java4.6 SendMessageController.java5 测试1 安装 Kafka Docker 安装 Kafk…...
OpenCV 图像金字塔算子
本文是OpenCV图像视觉入门之路的第14篇文章,本文详细的介绍了图像金字塔算子的各种操作,例如:高斯金字塔算子 、拉普拉斯金字塔算子等操作。 高斯金字塔中的较高级别(低分辨率)是通过先用高斯核对图像进行卷积再删除偶…...

【自学Linux】Linux一切皆文件
Linux一切皆文件 Linux一切皆文件教程 Linux 中所有内容都是以文件的形式保存和管理的,即一切皆文件,普通文件是文件,目录是文件,硬件设备(键盘、监视器、硬盘、打印机)是文件,就连套接字&…...

CUDA C++扩展的详细描述
CUDA C扩展的详细描述 文章目录CUDA C扩展的详细描述CUDA函数执行空间说明符B.1.1 \_\_global\_\_B.1.2 \_\_device\_\_B.1.3 \_\_host\_\_B.1.4 Undefined behaviorB.1.5 __noinline__ and __forceinline__B.2 Variable Memory Space SpecifiersB.2.1 \_\_device\_\_B.2.2. \_…...

为什么重写equals必须重写hashCode
关于这个问题,看了网上很多答案,感觉都参差不齐,没有答到要点,这次就记录一下! 首先我们为什么要重写equals?这个方法是用来干嘛的? public boolean equals (Object object&#x…...

< 每日小技巧:N个很棒的 Vue 开发技巧, 持续记录ing >
每日小技巧:6 个很棒的 Vue 开发技巧👉 ① Watch 妙用> watch的高级使用> 一个监听器触发多个方法> watch 监听多个变量👉 ② 自定义事件 $emit() 和 事件参数 $event👉 ③ 监听组件生命周期常规写法hook写法ὄ…...

数据结构与算法之二分查找分而治之思想
决定我们成为什么样人的,不是我们的能力,而是我们的选择。——《哈利波特与密室》二分查找是查找算法里面是很优秀的一个算法,特别是在有序的数组中,这种算法思想体现的淋漓尽致。一.题目描述及其要求请实现无重复数字的升序数组的…...
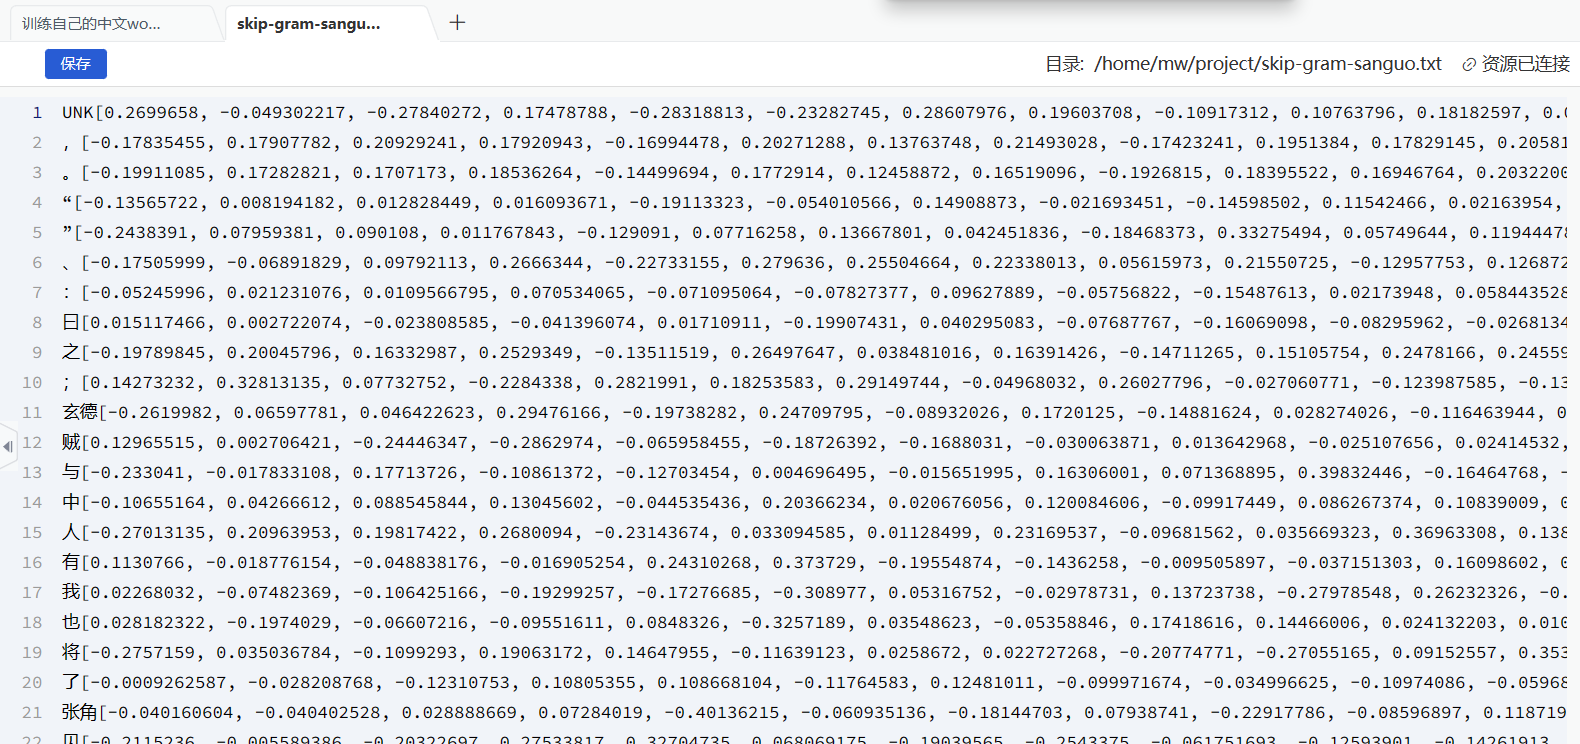
训练自己的中文word2vec(词向量)--skip-gram方法
训练自己的中文word2vec(词向量)–skip-gram方法 什么是词向量 将单词映射/嵌入(Embedding)到一个新的空间,形成词向量,以此来表示词的语义信息,在这个新的空间中,语义相同的单…...

ubuntu系统环境配置和常用软件安装
系统环境 修改文件夹名称为英文 参考链接 export LANGen_US xdg-user-dirs-gtk-update 常用软件安装 常用工具 ping 和ifconfig工具 sudo apt install -y net-tools inetutils-ping 截图软件 sudo apt install -y net-tools inetutils-ping flameshot 录屏 sudo apt-get i…...

【1139. 最大的以 1 为边界的正方形】
来源:力扣(LeetCode) 描述: 给你一个由若干 0 和 1 组成的二维网格 grid,请你找出边界全部由 1 组成的最大 正方形 子网格,并返回该子网格中的元素数量。如果不存在,则返回 0。 示例 1&#…...
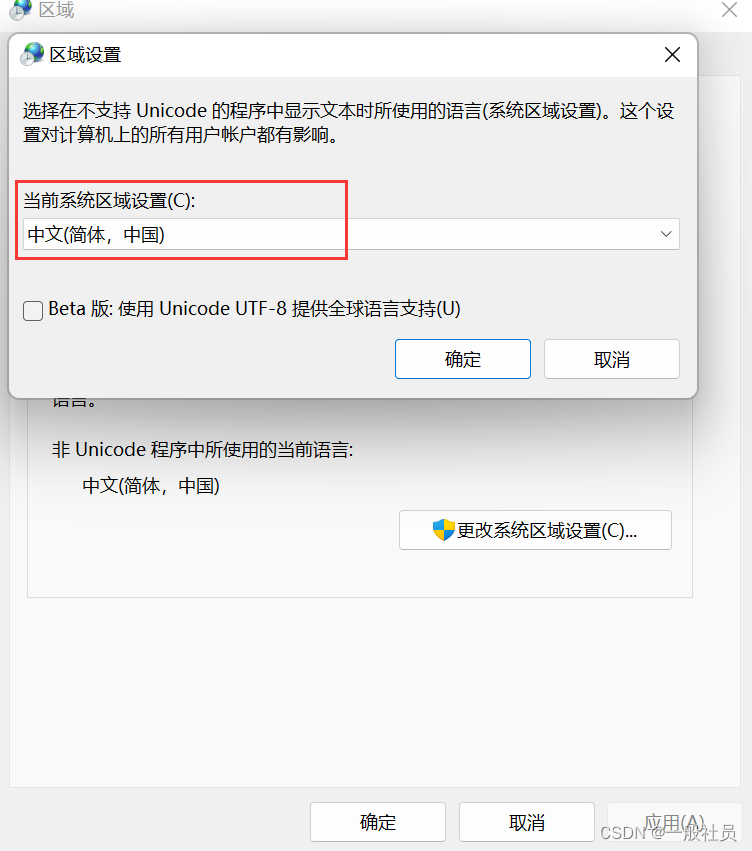
windows11安装sqlserver2022报错
window11安装SQL Server 2022 报错 糟糕… 无法安装SQL Server (setup.exe)。此 SQL Server安装程序介质不支持此OS的语言,或没有SQL Server英语版本的安装文件。请使用匹配的特定语言SQL Server介质;或安装两个特定语言MUI,然后通过控制面板的区域设置…...

KubeSphere 容器平台高可用:环境搭建与可视化操作指南
Linux_k8s篇 欢迎来到Linux的世界,看笔记好好学多敲多打,每个人都是大神! 题目:KubeSphere 容器平台高可用:环境搭建与可视化操作指南 版本号: 1.0,0 作者: 老王要学习 日期: 2025.06.05 适用环境: Ubuntu22 文档说…...
docker详细操作--未完待续
docker介绍 docker官网: Docker:加速容器应用程序开发 harbor官网:Harbor - Harbor 中文 使用docker加速器: Docker镜像极速下载服务 - 毫秒镜像 是什么 Docker 是一种开源的容器化平台,用于将应用程序及其依赖项(如库、运行时环…...

《Qt C++ 与 OpenCV:解锁视频播放程序设计的奥秘》
引言:探索视频播放程序设计之旅 在当今数字化时代,多媒体应用已渗透到我们生活的方方面面,从日常的视频娱乐到专业的视频监控、视频会议系统,视频播放程序作为多媒体应用的核心组成部分,扮演着至关重要的角色。无论是在个人电脑、移动设备还是智能电视等平台上,用户都期望…...

MODBUS TCP转CANopen 技术赋能高效协同作业
在现代工业自动化领域,MODBUS TCP和CANopen两种通讯协议因其稳定性和高效性被广泛应用于各种设备和系统中。而随着科技的不断进步,这两种通讯协议也正在被逐步融合,形成了一种新型的通讯方式——开疆智能MODBUS TCP转CANopen网关KJ-TCPC-CANP…...
)
Java入门学习详细版(一)
大家好,Java 学习是一个系统学习的过程,核心原则就是“理论 实践 坚持”,并且需循序渐进,不可过于着急,本篇文章推出的这份详细入门学习资料将带大家从零基础开始,逐步掌握 Java 的核心概念和编程技能。 …...

Android15默认授权浮窗权限
我们经常有那种需求,客户需要定制的apk集成在ROM中,并且默认授予其【显示在其他应用的上层】权限,也就是我们常说的浮窗权限,那么我们就可以通过以下方法在wms、ams等系统服务的systemReady()方法中调用即可实现预置应用默认授权浮…...

Linux --进程控制
本文从以下五个方面来初步认识进程控制: 目录 进程创建 进程终止 进程等待 进程替换 模拟实现一个微型shell 进程创建 在Linux系统中我们可以在一个进程使用系统调用fork()来创建子进程,创建出来的进程就是子进程,原来的进程为父进程。…...
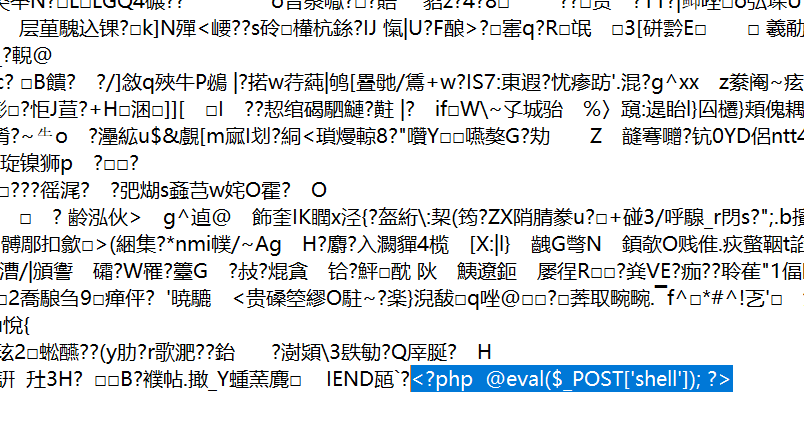
零基础在实践中学习网络安全-皮卡丘靶场(第九期-Unsafe Fileupload模块)(yakit方式)
本期内容并不是很难,相信大家会学的很愉快,当然对于有后端基础的朋友来说,本期内容更加容易了解,当然没有基础的也别担心,本期内容会详细解释有关内容 本期用到的软件:yakit(因为经过之前好多期…...
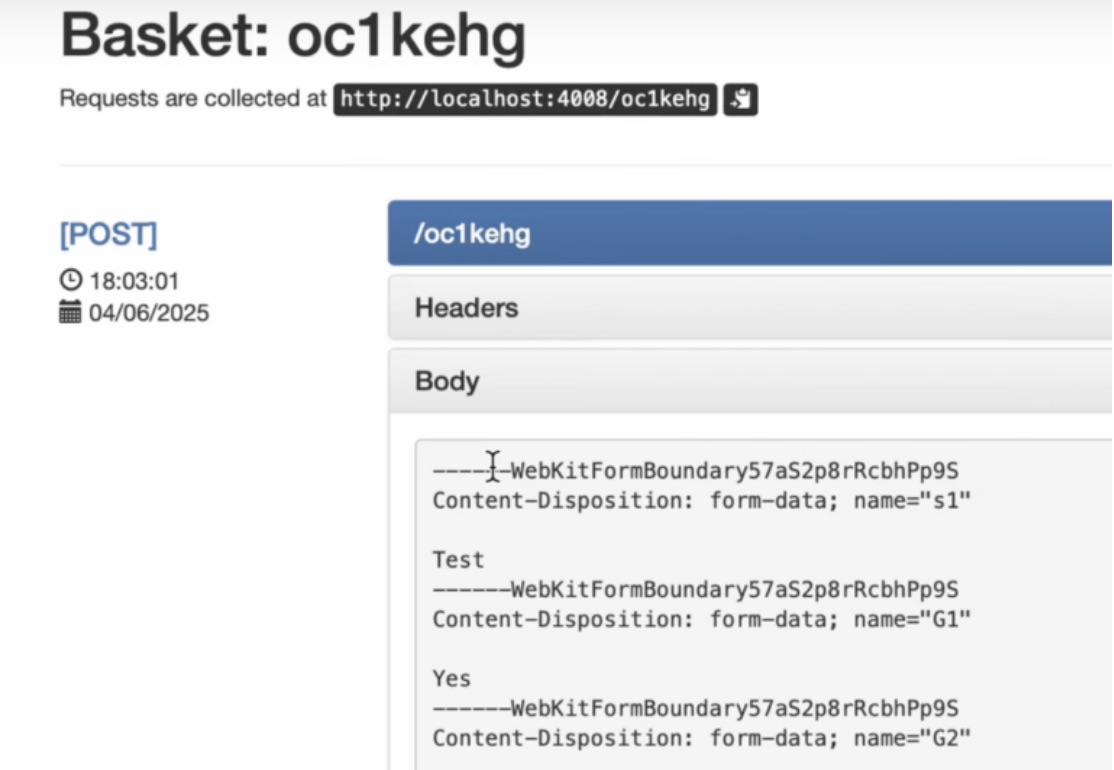
如何在网页里填写 PDF 表格?
有时候,你可能希望用户能在你的网站上填写 PDF 表单。然而,这件事并不简单,因为 PDF 并不是一种原生的网页格式。虽然浏览器可以显示 PDF 文件,但原生并不支持编辑或填写它们。更糟的是,如果你想收集表单数据ÿ…...
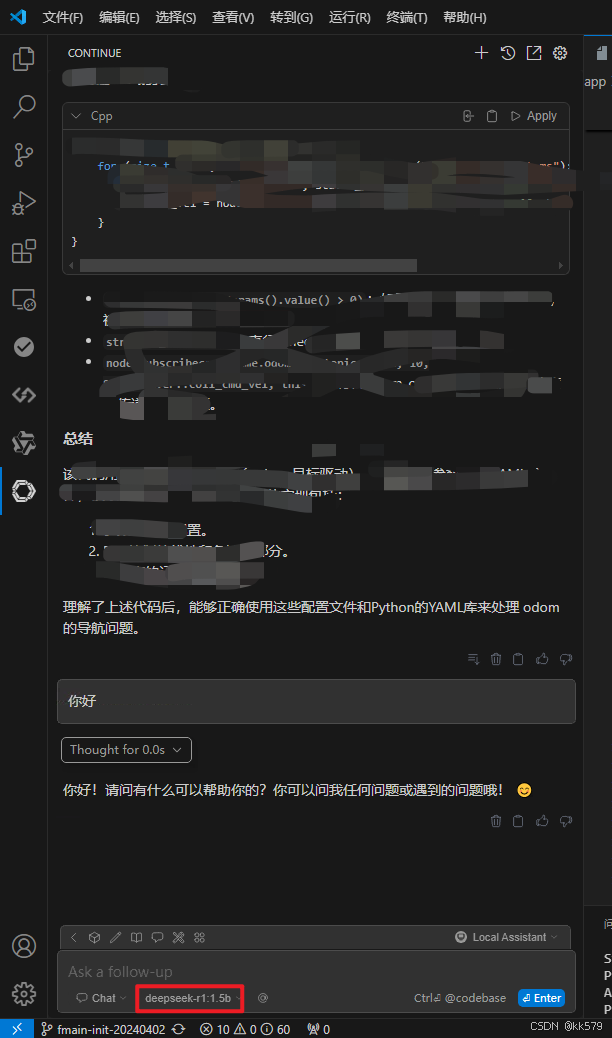
保姆级教程:在无网络无显卡的Windows电脑的vscode本地部署deepseek
文章目录 1 前言2 部署流程2.1 准备工作2.2 Ollama2.2.1 使用有网络的电脑下载Ollama2.2.2 安装Ollama(有网络的电脑)2.2.3 安装Ollama(无网络的电脑)2.2.4 安装验证2.2.5 修改大模型安装位置2.2.6 下载Deepseek模型 2.3 将deepse…...
